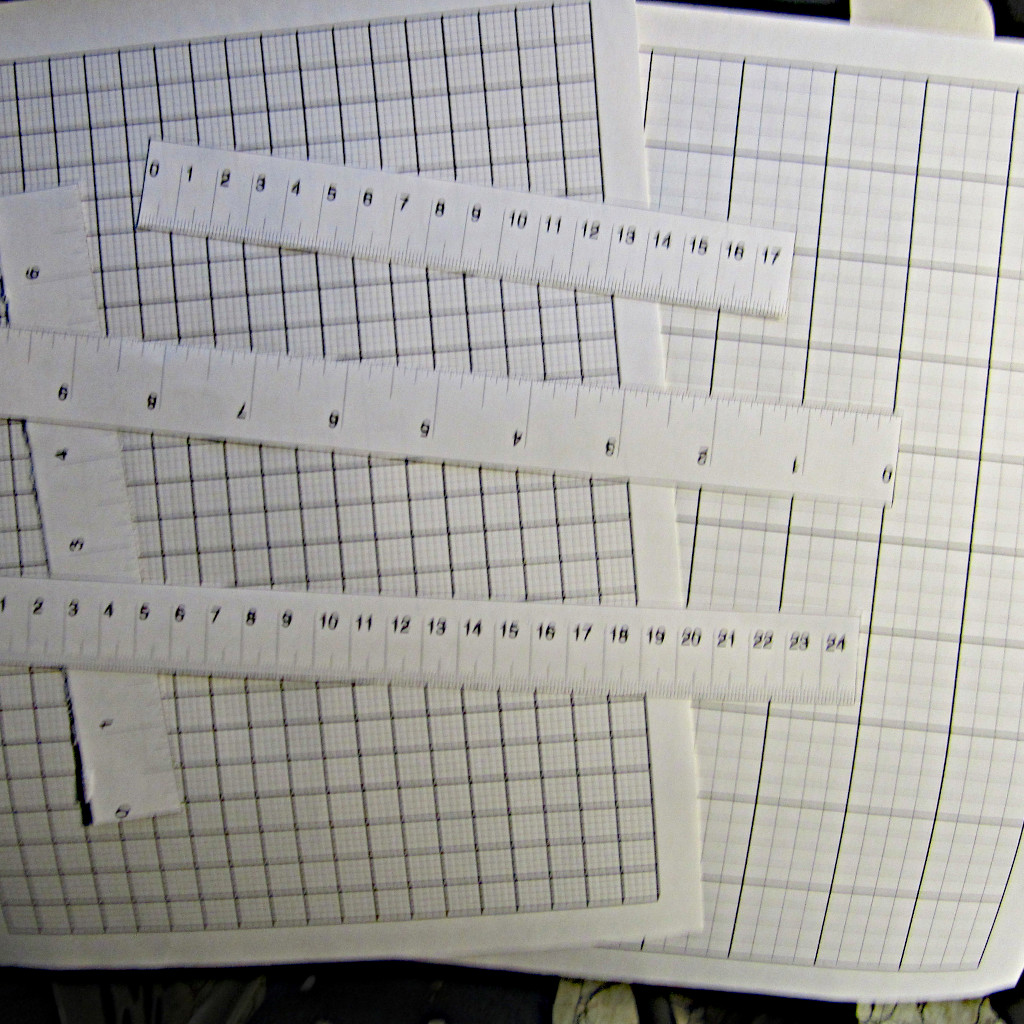
Recently I described a very simple technique of how one can calibrate their printer for accuracy when printing out postscript coded documents. Therefore, after one has fully calibrated their printer, accurate rulers and grids can be made pretty easily.
There are a many reasons why someone would want to have printable rulers and grids:
- You don’t have to go to the store and buy one
- Since they are on paper, they are flexible so they can wrap around oddly shaped objects. Also one can easily write on paper unlike with a metal or plastic ruler.
- You can produce many, so they are almost disposable
- You can easily add a ruler to a tool (such as a table saw or drill press) to make a cheap tool more accurate.
- Making a drawing on a grid of an exact known size can help in the design process
The key pieces of math are:
One notable postscript trick that should be mention is drawing lines of zero line width. That is the following command results in lines that are as thin as the printer can as possible.
0 setlinewidthPostscript Examples…
Therefore, in postscript one can easily draw some vertical and horizontal lines at the correct positions using the above ratios. First, code was made to create both metric and imperial rulers.
Next, code for grid paper was created for both imperial and metric cases. The imperial bases grid has major lines set at 1 inch and minor lines at 1/4 or an inch. The metric grid has major lines at every centimetre, and minor lines every 2 millimetres.
Postscript code and the corresponding PDF files for both the rulers and grids is available here.
And examples can be seen in the pic below.

Be sure to calibrate the printer and enter the correct scaling factors to the postscript file before using!
No Comments