To start we should define calibration; from wikipedia:
Calibration is the comparison of measurement values delivered by a device under test with those of a calibration standard of known accuracy. Such a standard could be another measurement device of known accuracy, a device generating the quantity to be measured such as a voltage, a sound tone, or a physical artifact, such as a meter ruler.
First I have to say that there are different types of printer calibration. The most common are colour accuracy and position/size accuracy. Since I only have a black and white printer I am only concerned with the later.
The purpose of position/size accuracy printer calibration is so that pages/designs of a preset size actually print out at the desired size. So a 2 by 3 inch rectangle is actually 2 by 3 inches not 1.97 by 2.96 inches. While most of the time small discrepancies in accuracy does not make much of a difference (for example with text), in some cases it matters (for example with making rulers).
The main assumption used in this calibration technique is that the behaviour of the print is ‘linear’ both the horizontal and vertical directions; that is, there are no non-linear distortions. Therefore by introducing a scaling factor in both the X and Y directions any new prints will be (more) accurate.
In Postscript the function to adjust the scaling is simply called ‘scale’. One simply passes in the appropriate scale values:
<x scale value> <y scale value> scaleIn our case, the x and y scale values will both be very close to 1.
When calibrating, the accuracy is defined by the tool used to make the reference measurements. In my case, I can make reasonable measurements of half of the smallest resolved marking on my ruler which would be 1/64 of an inch (or 0.397 mm).
A simple way to determine the scale factors is to print out the following PDF and then measure the lengths and divide them by the appropriate (or real) lengths. Or mathematically:
For example, with my printer I determined the following scaling factors:
Then these values are placed into the top of any postscript file so that print outs made with the same printer (and printer settings have to correct sizes/dimensions).
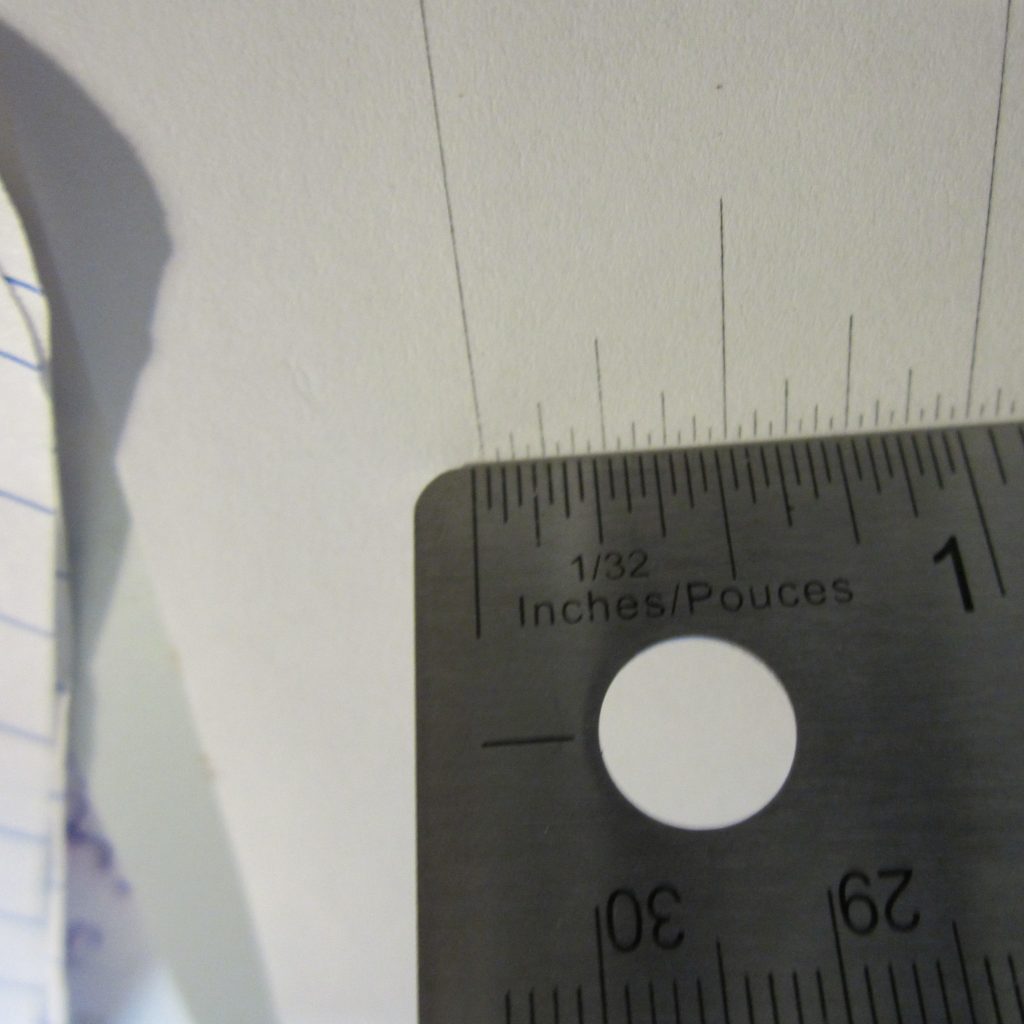
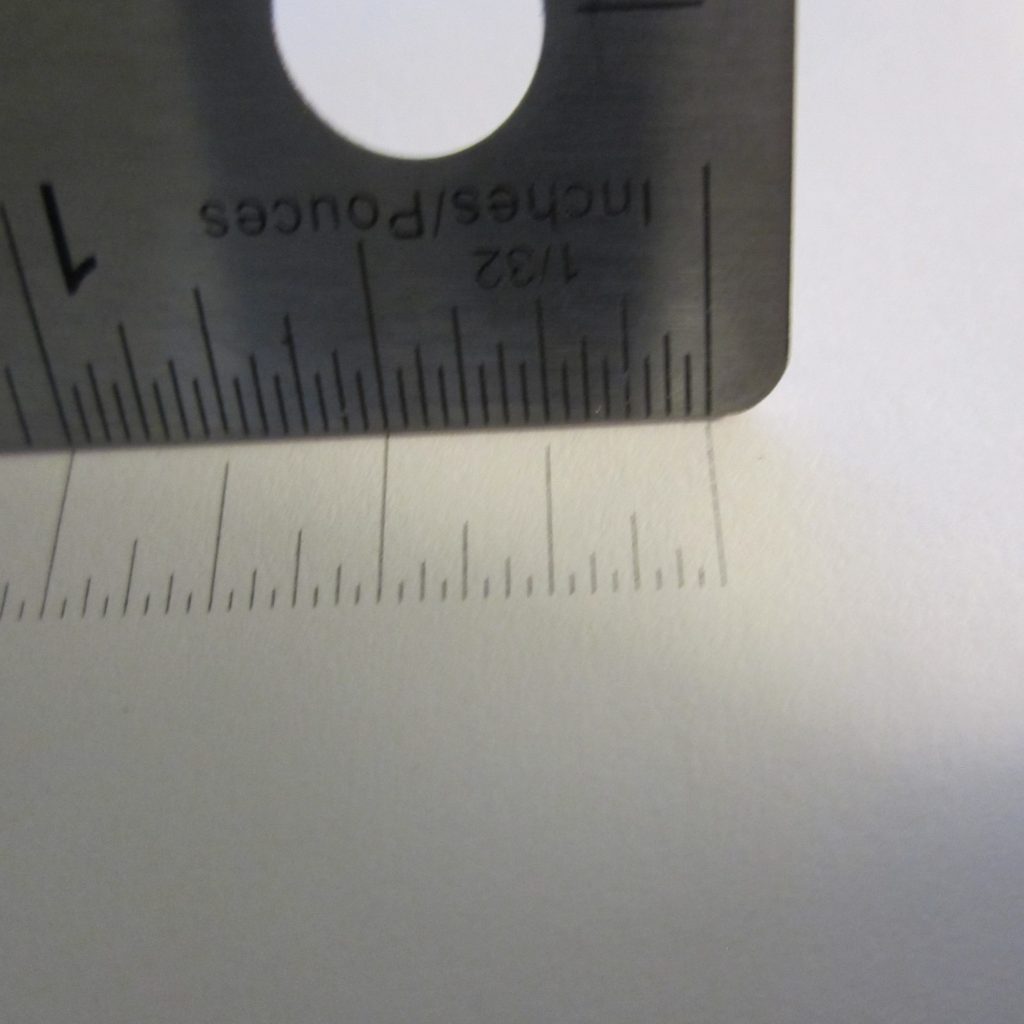
The following images show before and after images from this simple calibration process. Left) Before calibration, off by 1/2 of a 1/32 of an inch (or 1/64 inches). Right) After calibration, our printout matches the ruler.
Note about the PDF:
The PDF is was created using a raw postscript file where distinct markings were placed at 1/32, 1/16, 1/8, 1/4, 1/2, and 1 inches. Two sets of markings are provided so one can calibrate vertically and horizontally. The original postscript code is available here.
Limitations:
Obviously, this calibration technique is rather simple and has some limitations. First, we are limited by the resolution of the reference ruler. In general we can assume one half of the smallest unit provided on the ruler.
Next, only the length measured can be considered ‘calibrated’. Errors can be seen outside of this length, particularly for much larger distances.
Finally, errors can be made when measuring with perhaps the most common being parallax reading error.
No Comments