These photos are mainly a collection of various wood working projects that I completed along with my stereo. The main purpose of these pics is so I can use them as a reference during a conversation sometimes.
Furniture
I like wood working, and I was a novice amateur in the beginning and by completing these projects I am just a regular amateur now.
There are a few others projects that I didn’t include since the photos were not that great with those.
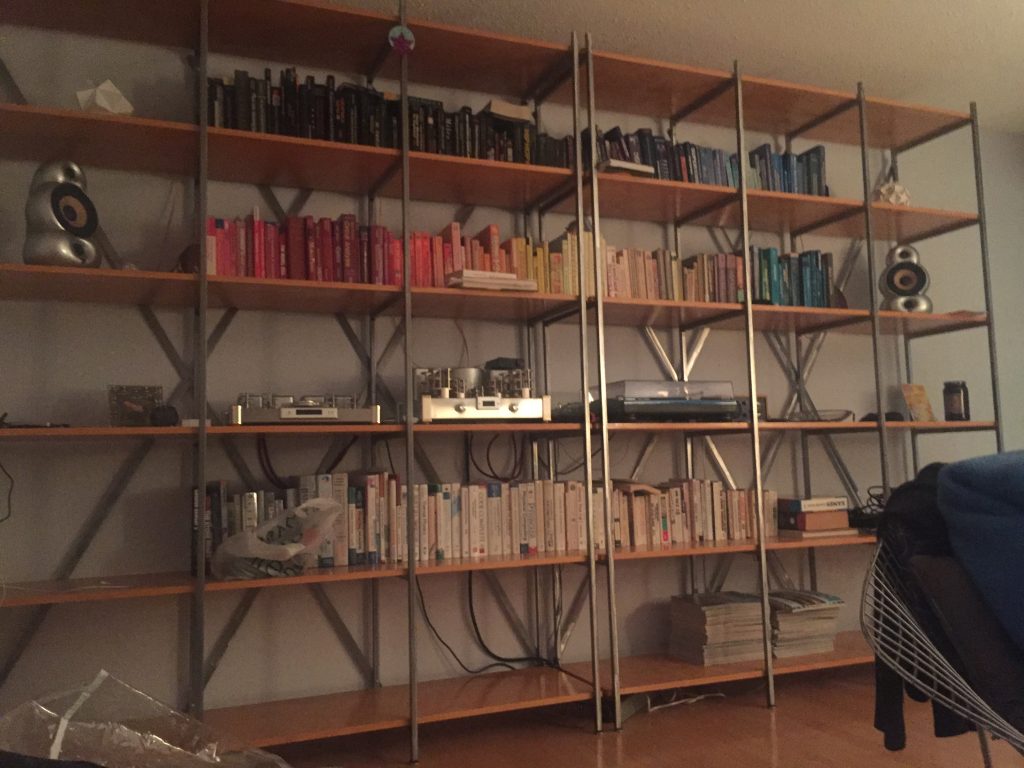
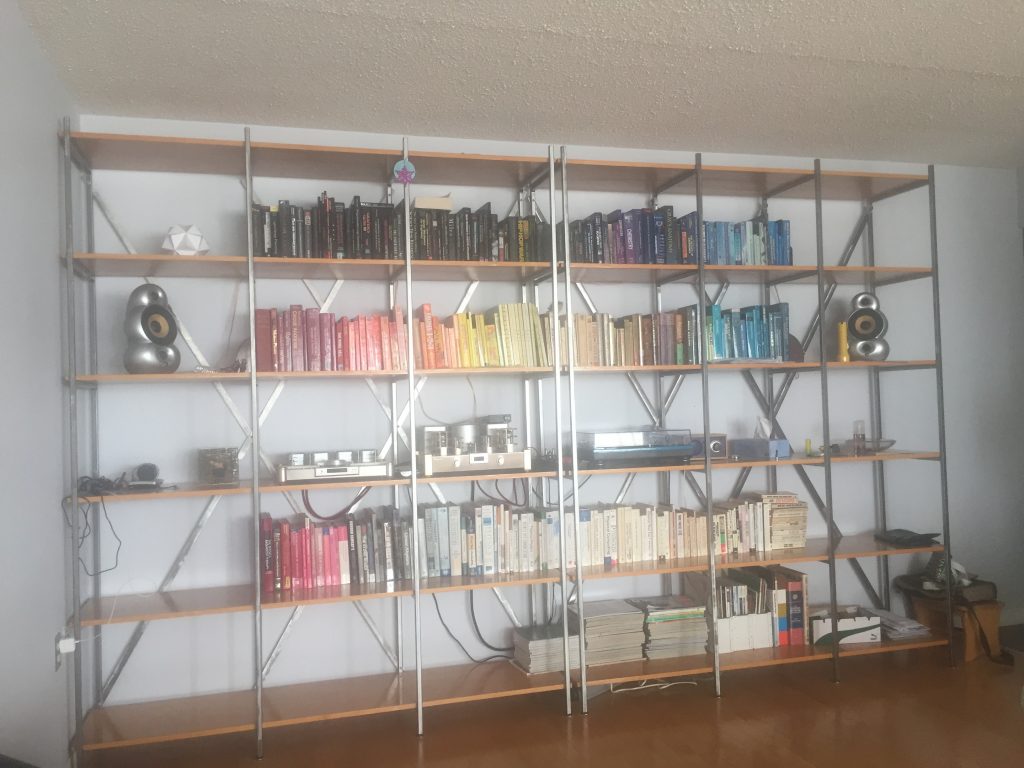
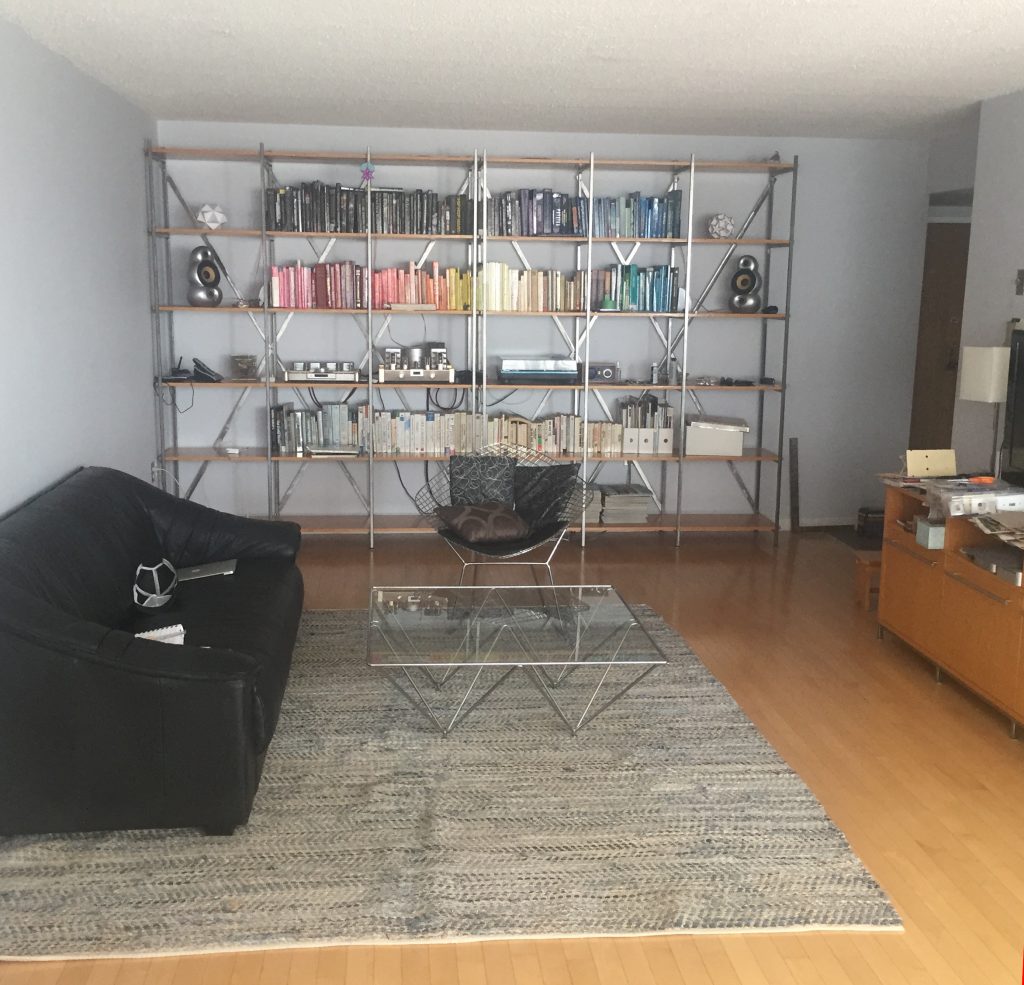
Book Shelf
I made this shelf years and years ago. All the wood is from 4 pieces of birch cabinet grade plywood. The metal is some standard thick walled 3/4″ steel tubing which I paid someone to help with the welding. Some of the items are pretty heavy (like the stereo) and there is no sagging or warping with any of the shelves. I don’t have too many photos of the building stages just of the final product.
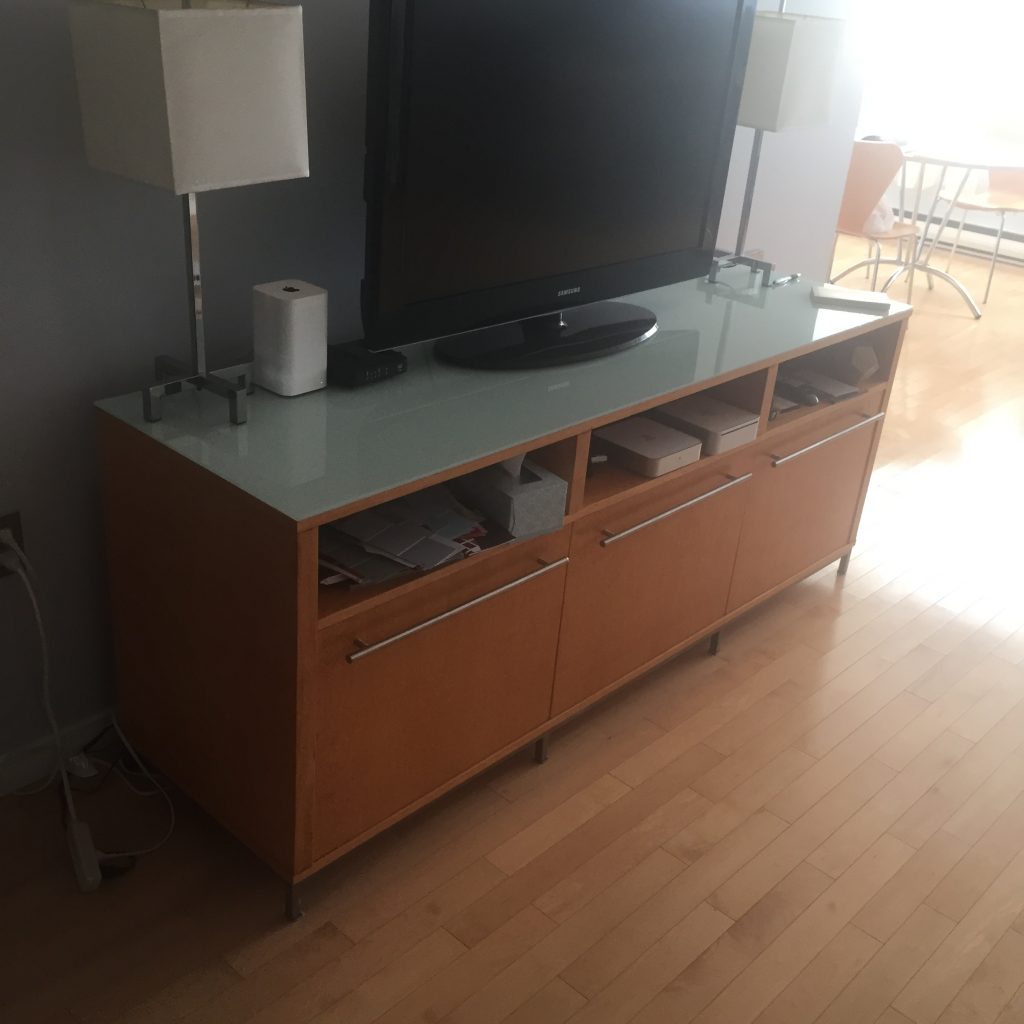
Credenza
A very long time ago I was looking in this one magazine and noticed this one living room layout where someone used this modified vintage Knoll credenza as a tv cabinet. After doing some research, I realized it was too crazy expensive to buy, so either I had to find a substitute or make my own.
I adjusted the design to have open compartments with the idea of using them to house a bunch of electronic components. With all that in mind, I used only one to store different electronics (such as an old mac mini to stream videos), and the other compartments usually contained a lot of clutter.
The top is a piece of glass, that I just painted the bottom side white, the rest was made from cabinet grade birch plywood. The metal hardware was all purchased from home depot.
There are a lot of flaws when I made this. Particularly the glue; it squirted through the joints and I was bad at cleaning it up. Then over the years, the sun darkened the excess glue marks and they have become rather noticeable.
Bedside Table/Night Stand
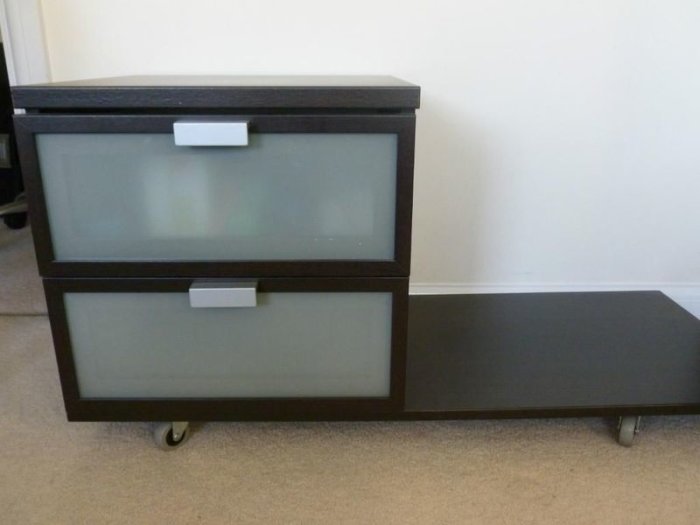
Depending on the amount of time that I have, the materials, and the cost, I don’t always make every piece of furniture. A while ago I got the Ikea Hopen bedside table. I was almost happy with it but: 1) it wasn’t tall enough; and 2) it has this weird protruding piece on the base.
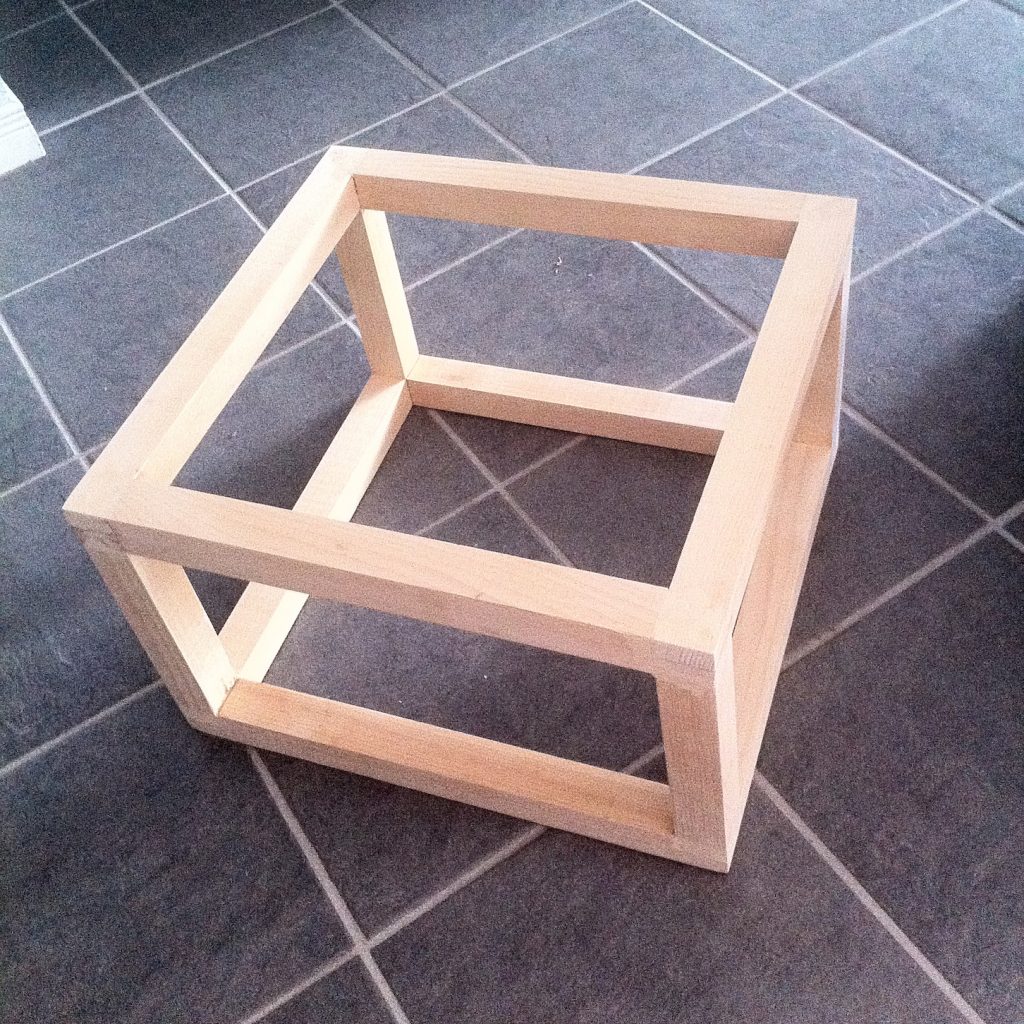
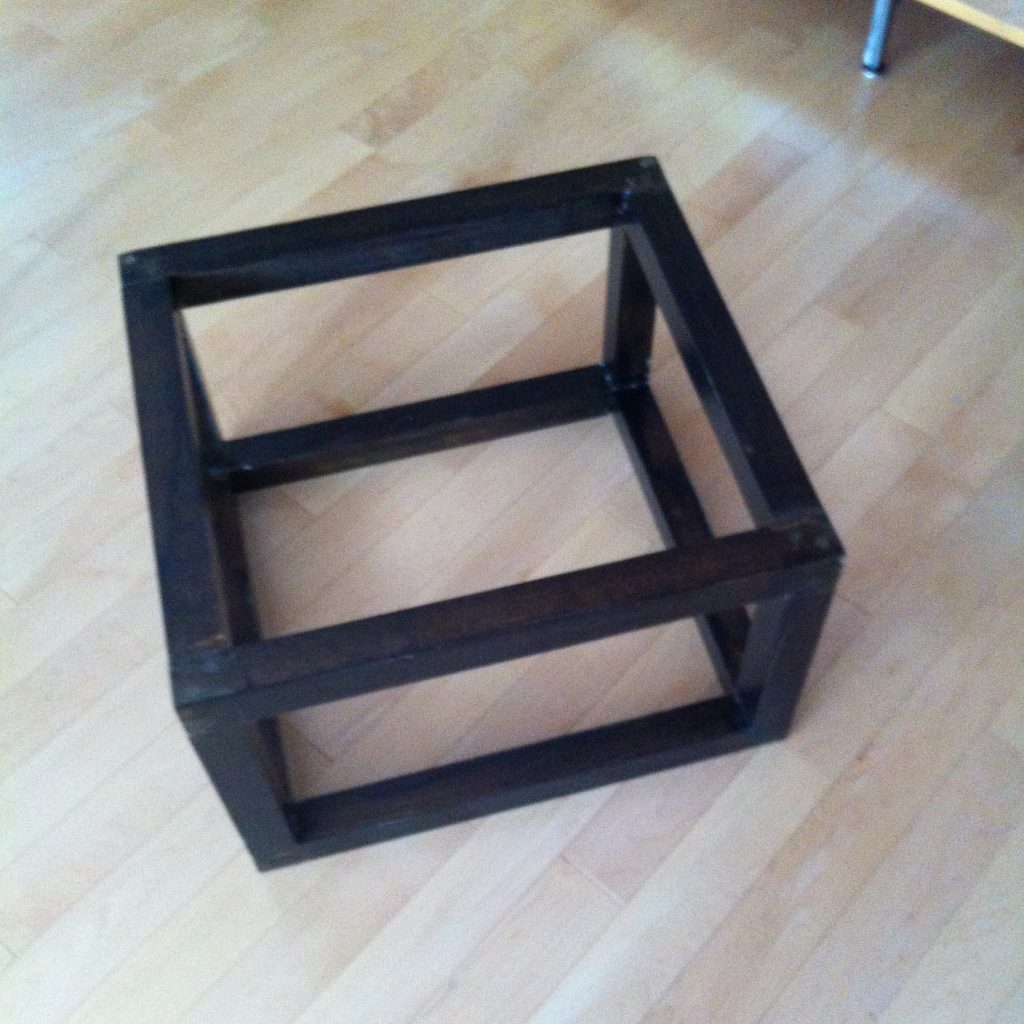
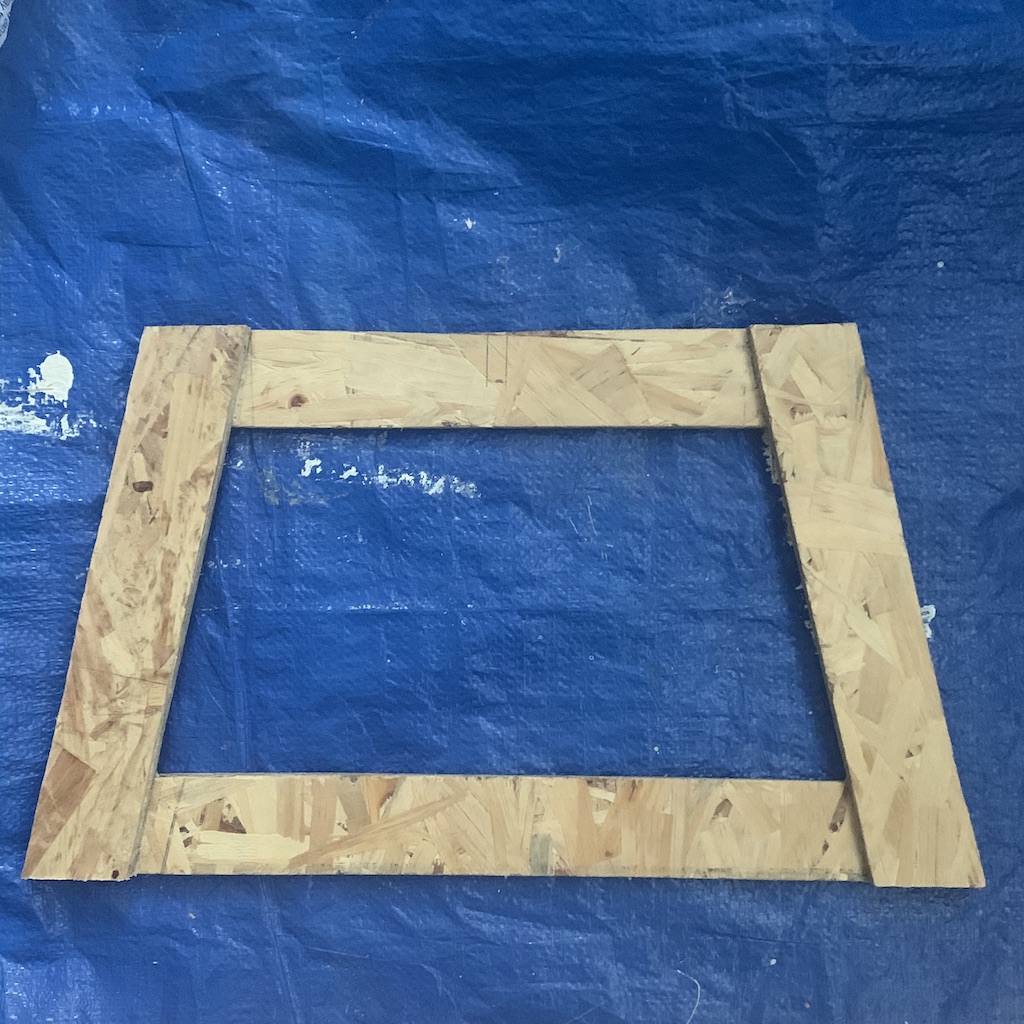
This project was a very simple project where I made a box frame to give the piece some height and then trimmed the base piece so it would be a little more functional.
Dining Table
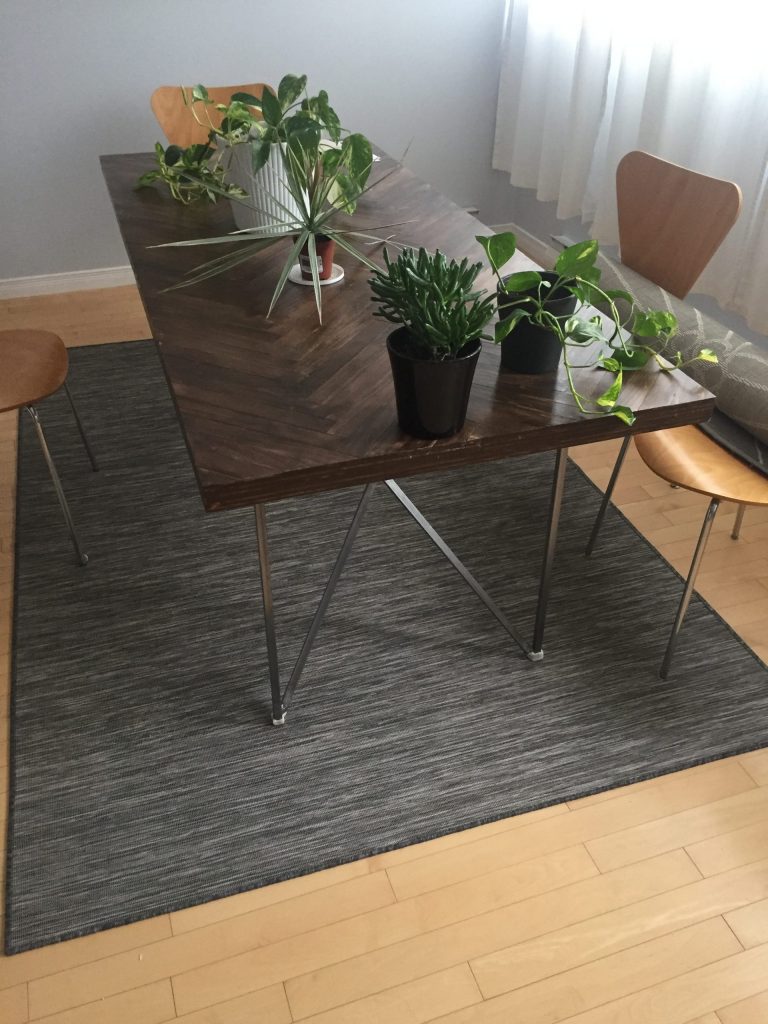
I wanted to have a modern style dining table and where I was living at the time could not find anything that suited my taste. Hence I decided to make something simple and modern, for the lowest cost possible.
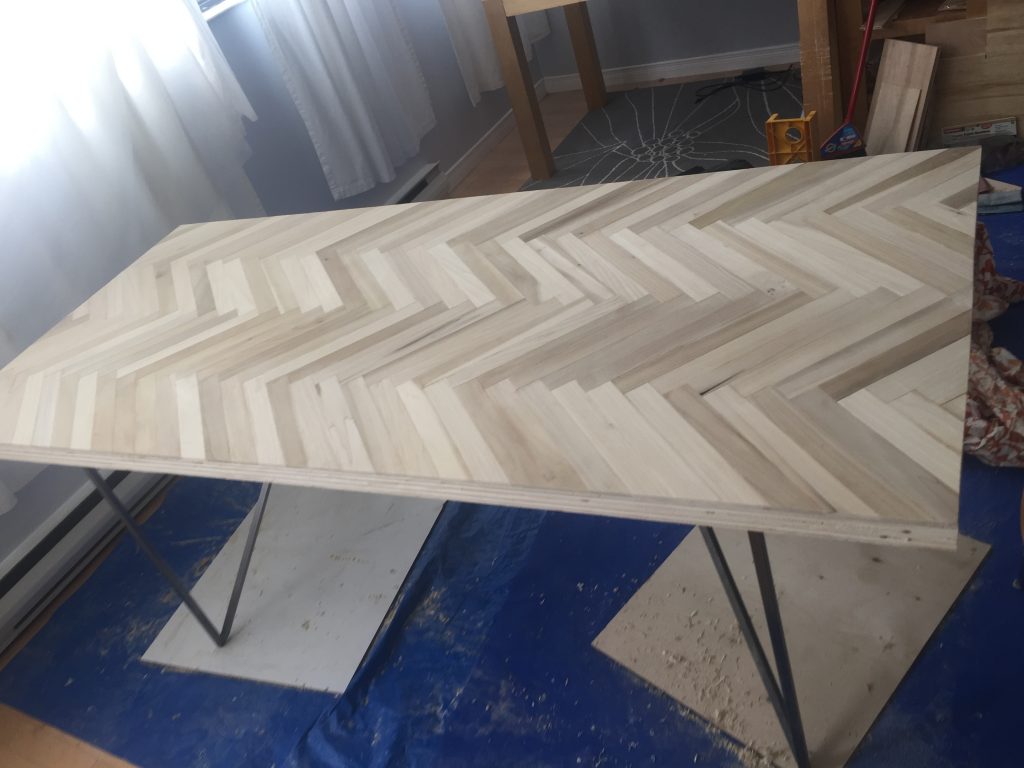
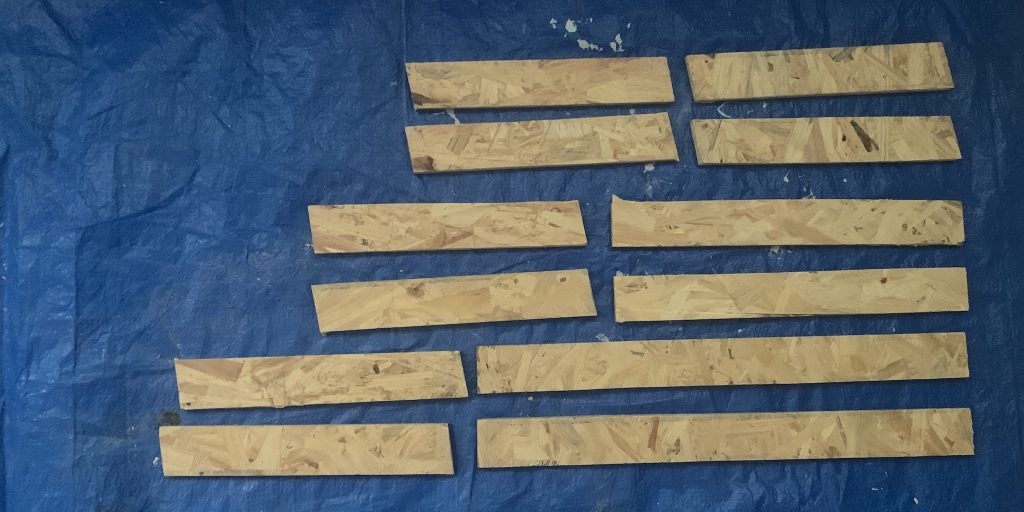
To keep costs low, I made the base from one 4’x8′ sheet of plywood. To be a bit clever with my cuts so I could have an 1.5 inch thick top by doubling up the wood. I added a diagram of the required cuts and order of the pieces during assembly (note that for assembly just standard glue and screws was used). A PDF of the cuts is available here.
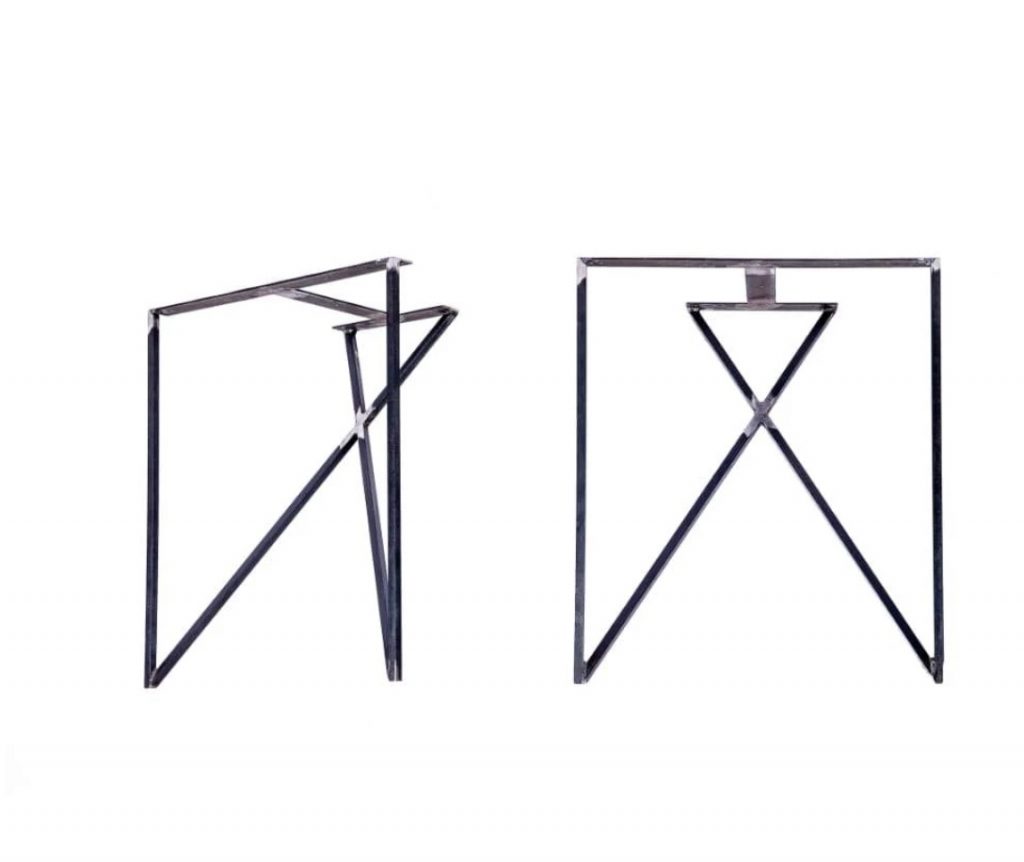
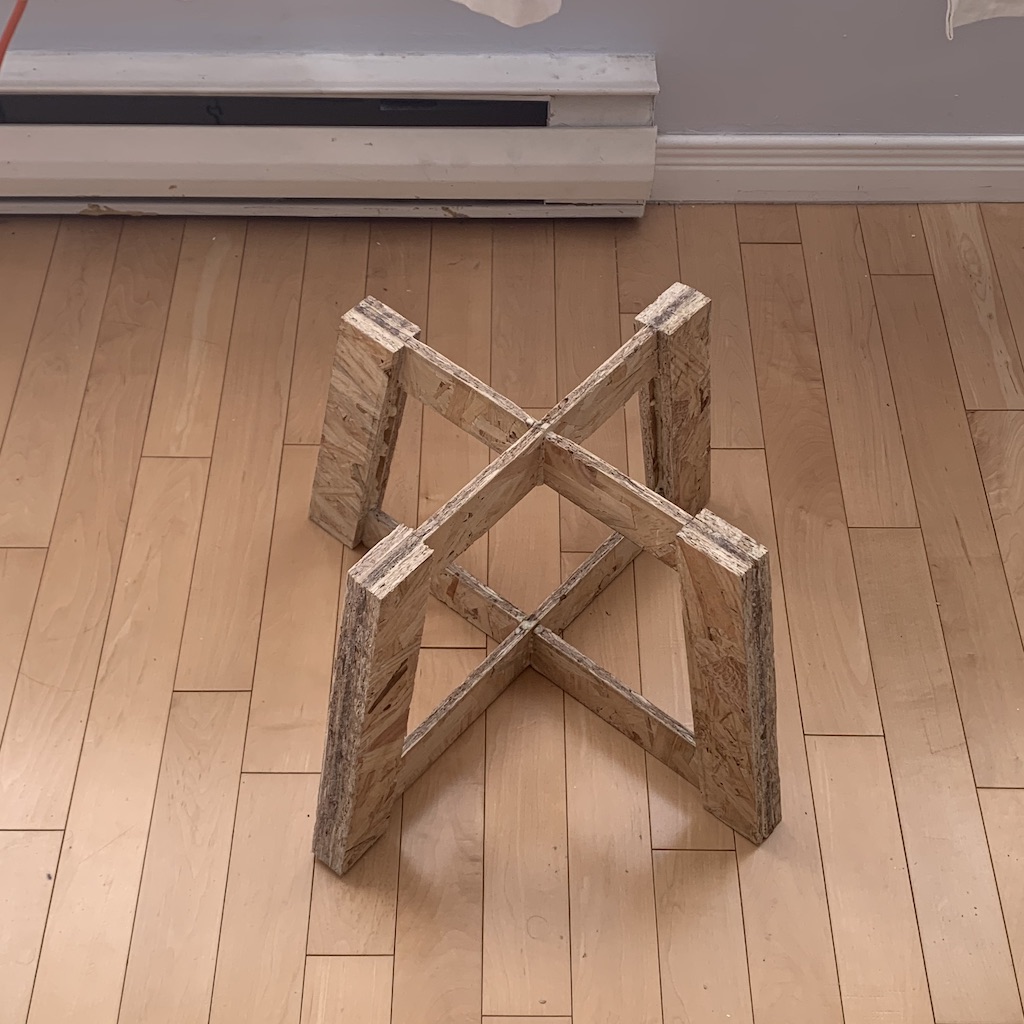
I ordered the table legs online. The X pattern really appeals to me. I spent what felt like forever cleaning this oily grime from them, and then attempting to polish the steel by hand.
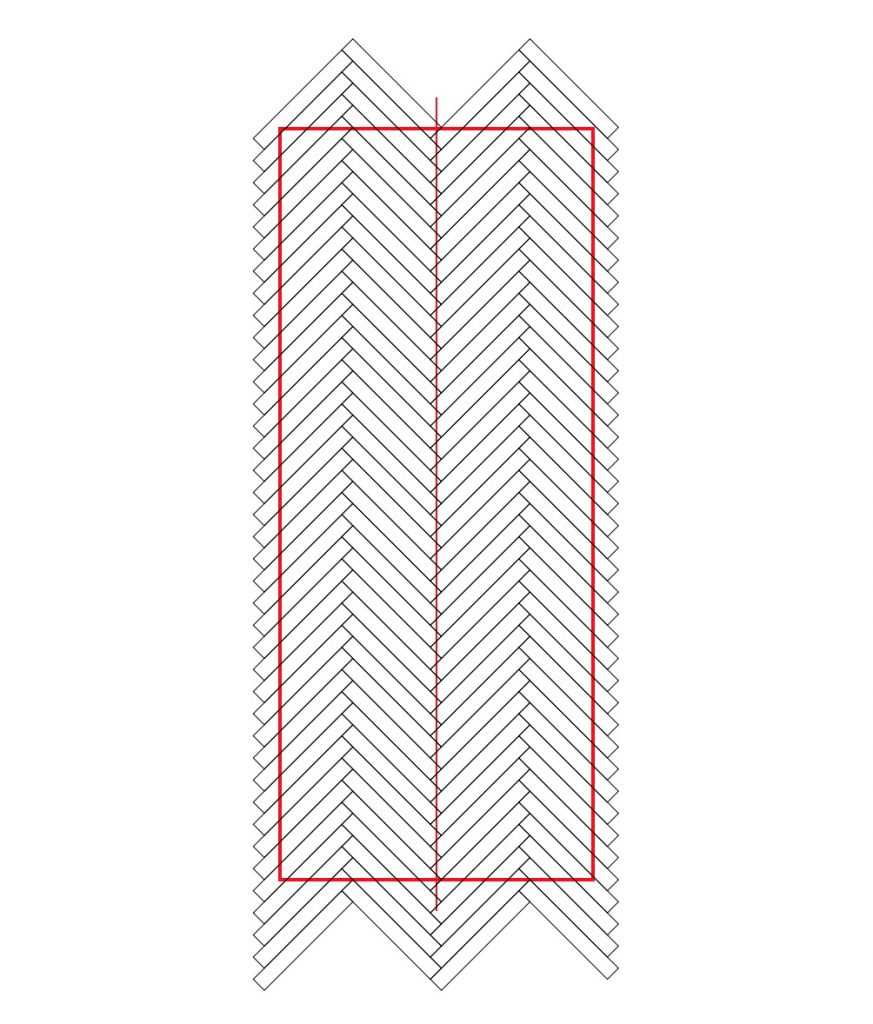
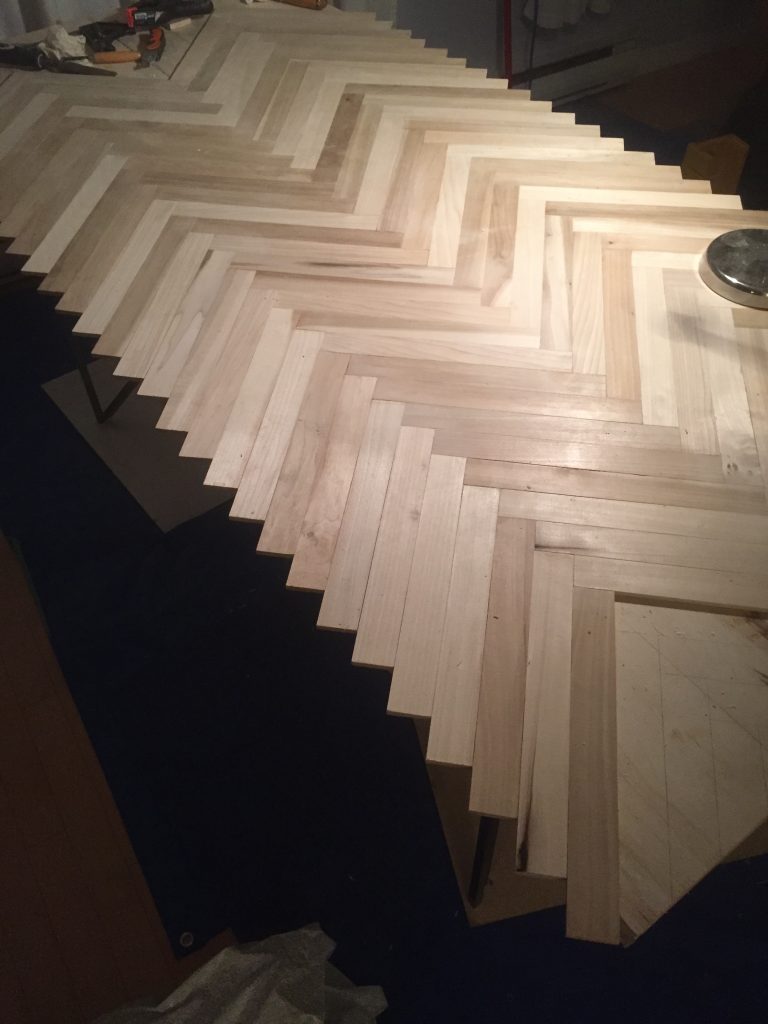
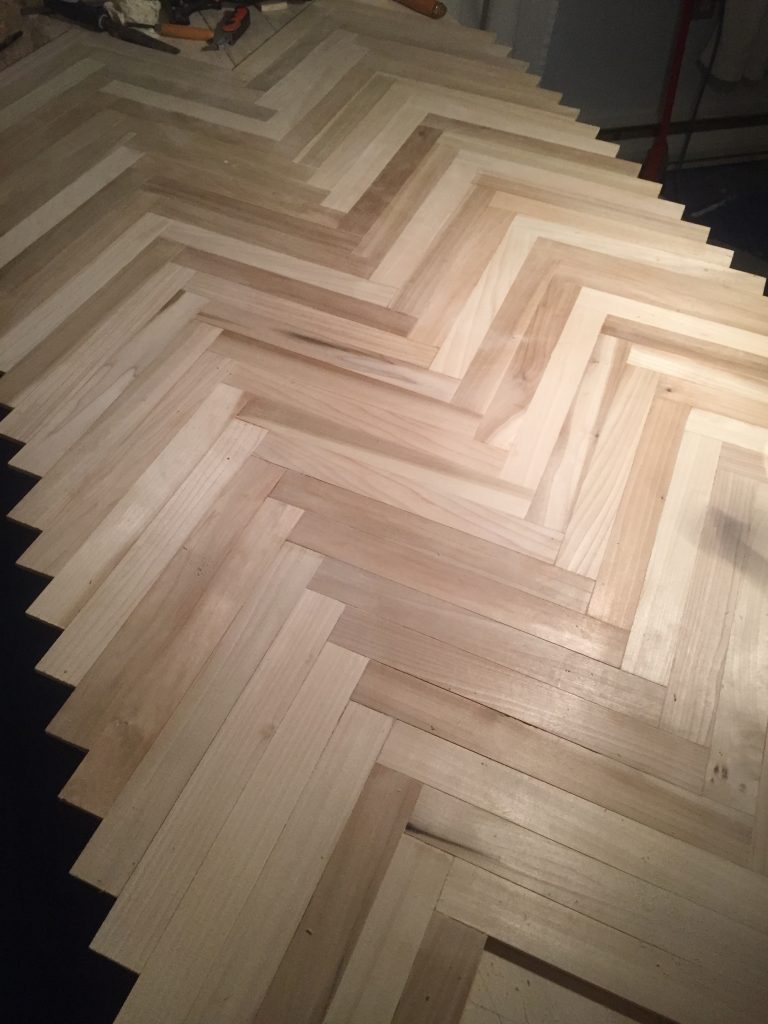
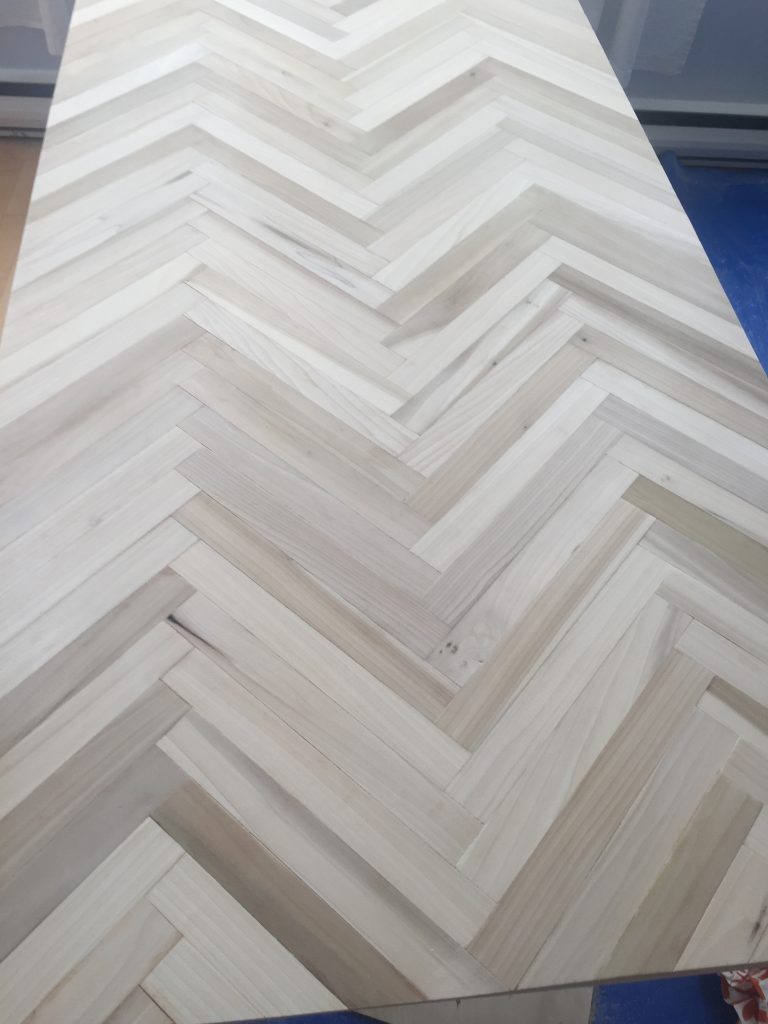
For the herringbone pattern, I used 1/4 inch poplar from since it was readily available at the store. Then I wrote some code to experiment with different herringbone patterns based on element width and length, pattern direction and order among other things. Code to an older version of the herringbone pattern test program is available here (current versions are on a computer that is difficult to access right now). The herringbone pieces were slowly installed over a day or two, and then the excess was trimmed off with a hand saw.
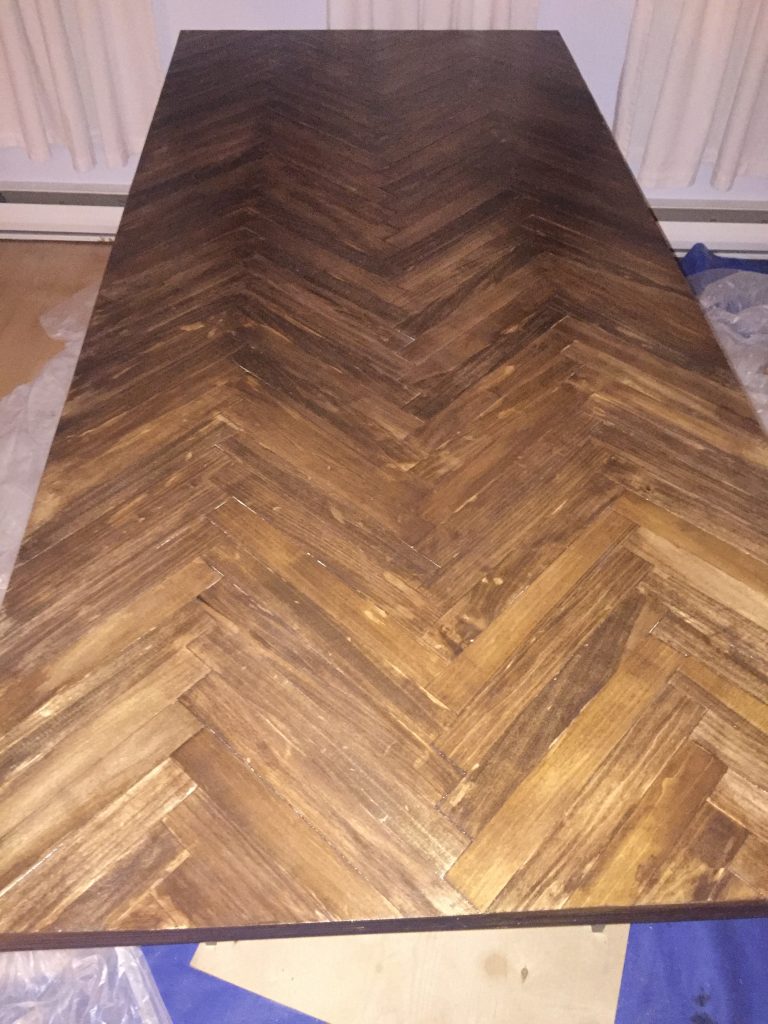
There was some variation in grain and shade with the herringbone pieces. Since the table was being stained a dark colour it did not matter. Multiple rounds of staining, sanding, and varnishing were done to give an acceptable finish.
Finally, I created feet by molding some soft plastic (Polycaprolactone) by hand. I am not too happy with the result and I might redo it when I have the chance.
Desks
Over the years I have had a few desks, some were better than others but I still wasn’t too happy with all of them. This time around I wanted to solve my desk problems once and for all. These were the main ideas:
- Need drawers not just a work surface.
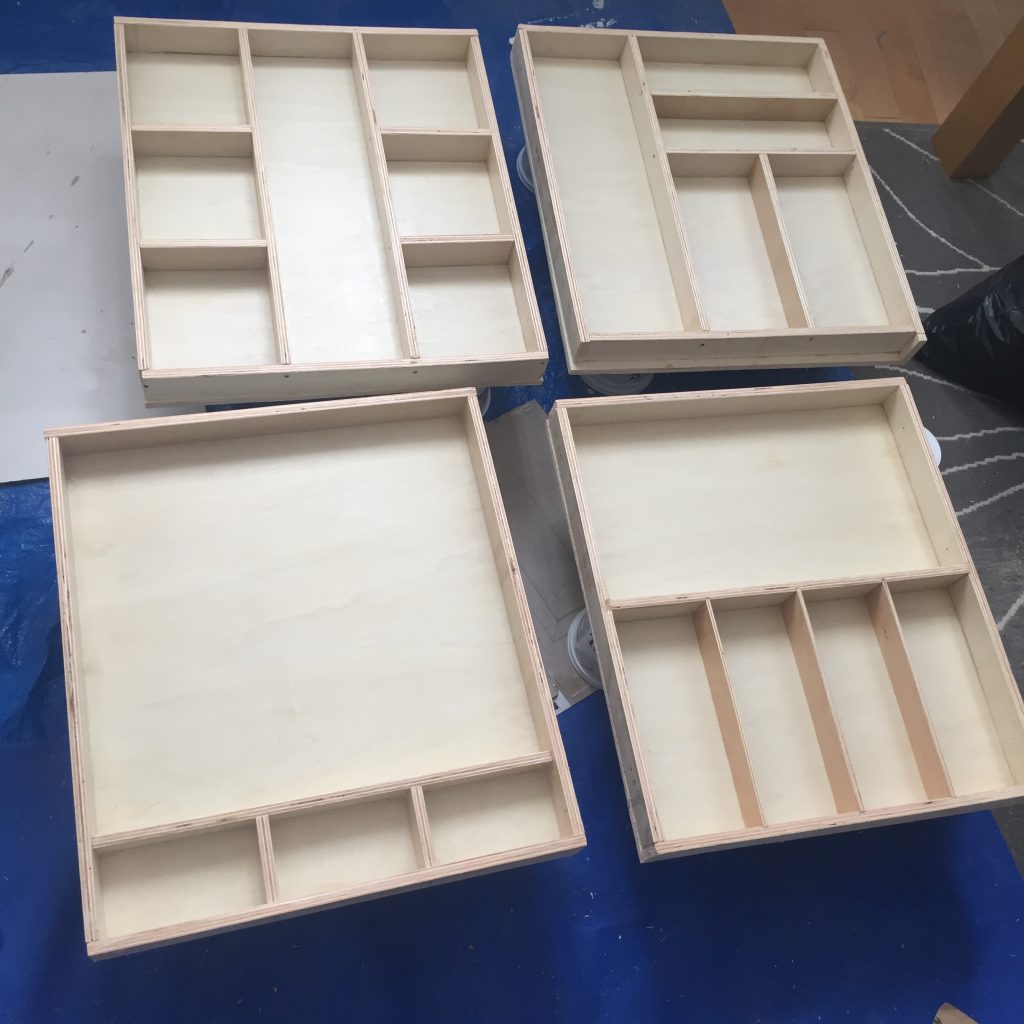
- Instead of having deep drawers, I wanted wide and shallow drawers so most things are not buried underneath other drawer contents
- Keep costs low by buying the minimal amount and re-using some old materials
- Make it long.
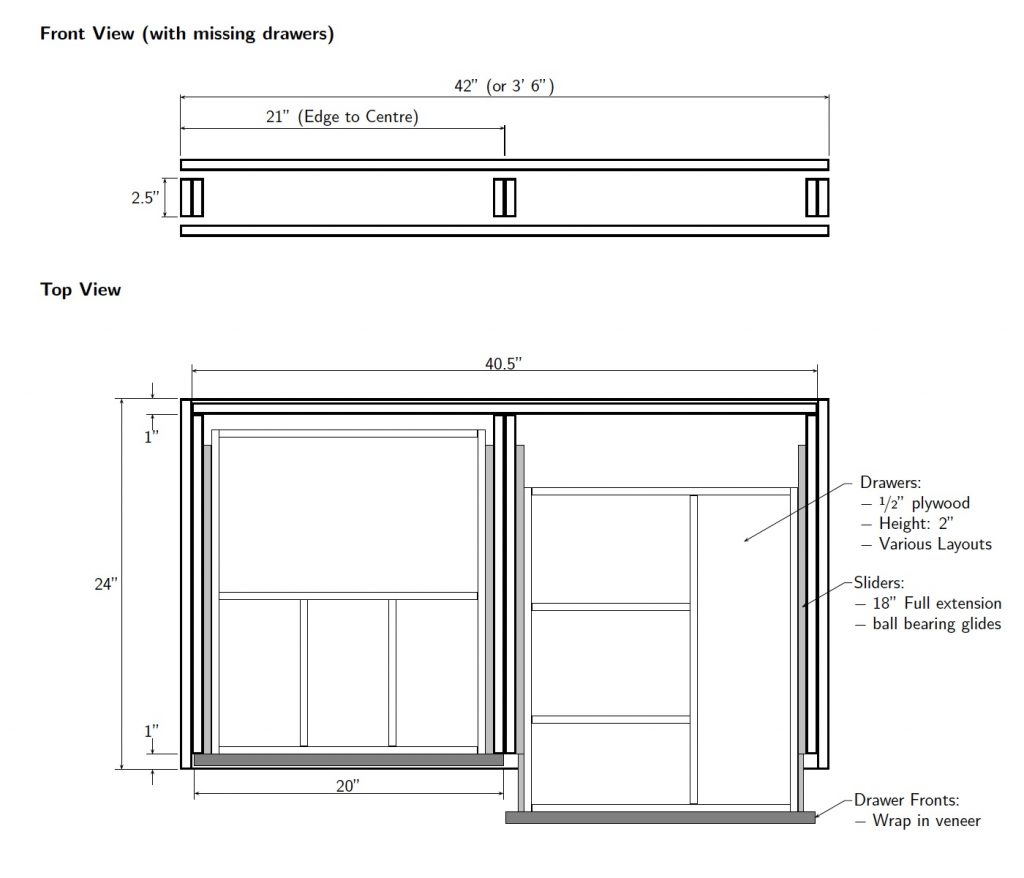
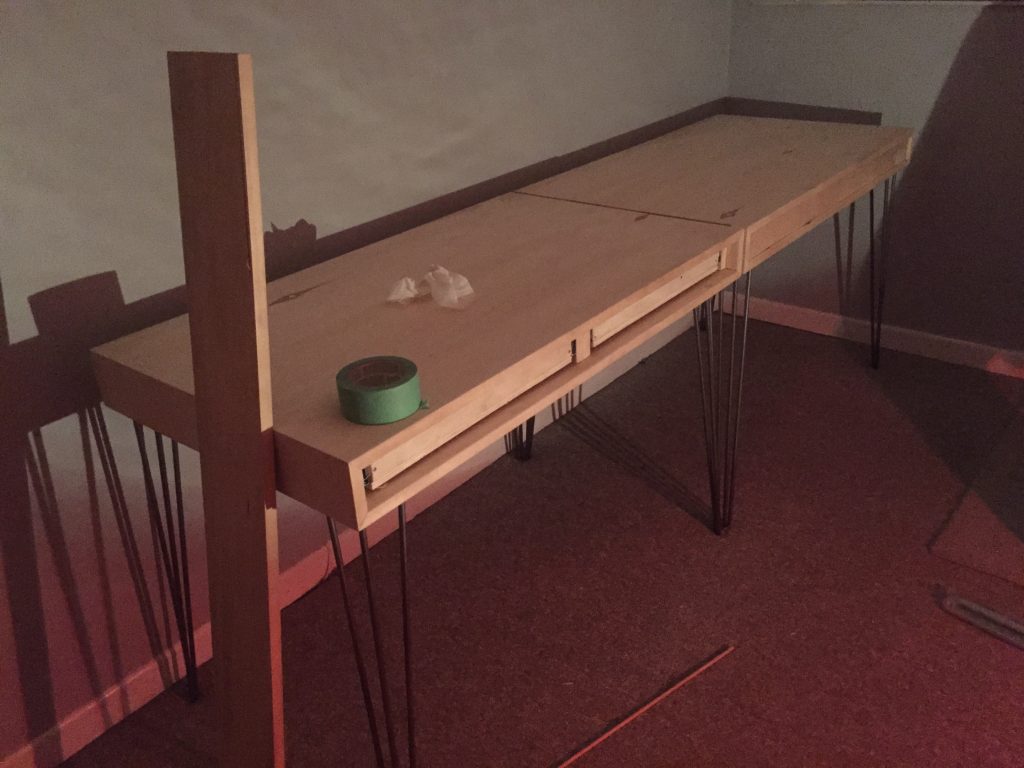
So the final ‘desk’ is actually two desks that were positioned side by side (to produce a nice 7 foot long desk). I thought it would be easier to move and build this way. A ‘rough’ plan of the desk layout has been included (PDF is available here). This plan was included since a few pictures of the building are missing.
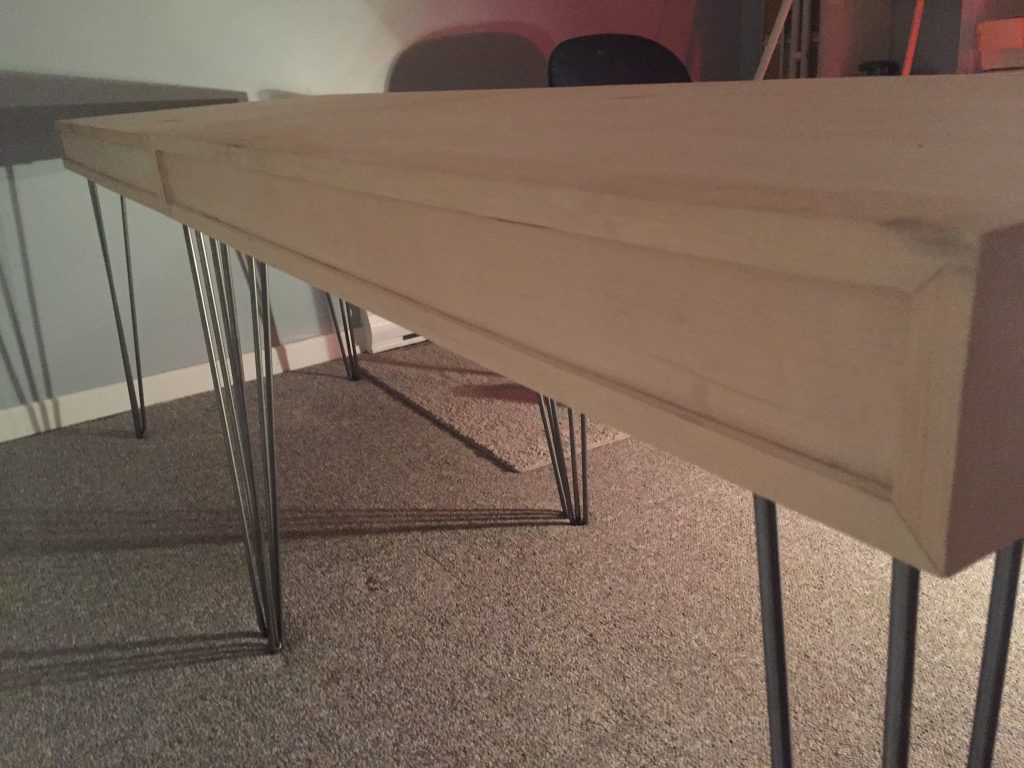
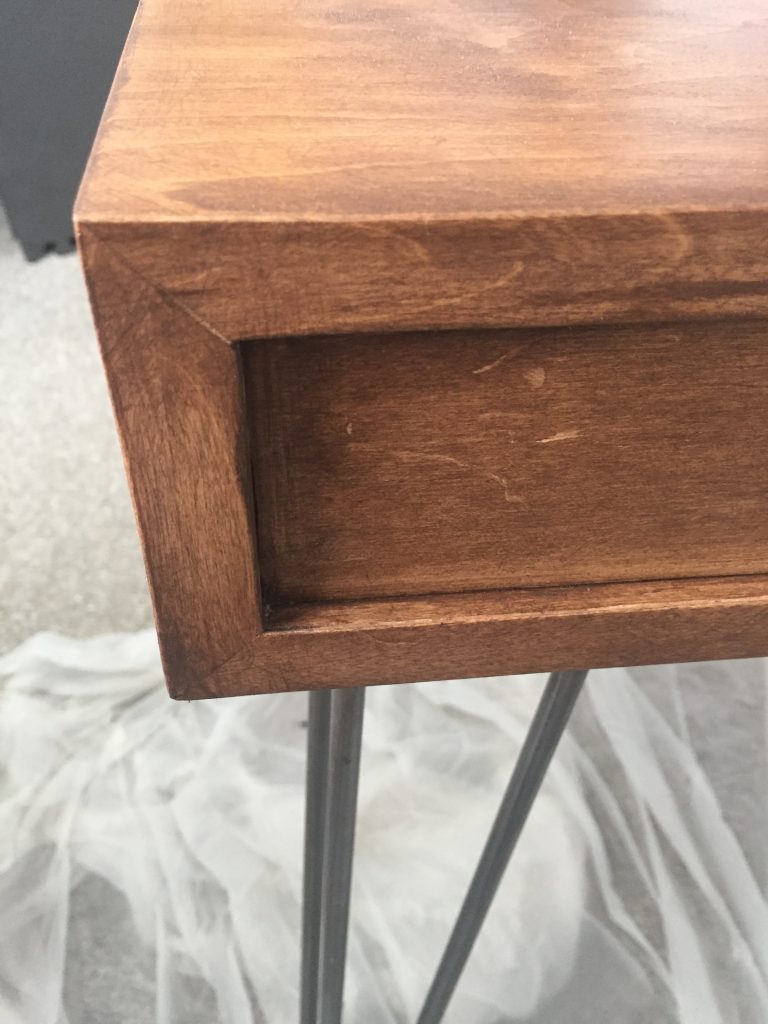
Some of it was to keep the design simple, and some of it was I was lured by the hairpin leg design trend that was popular at the time.
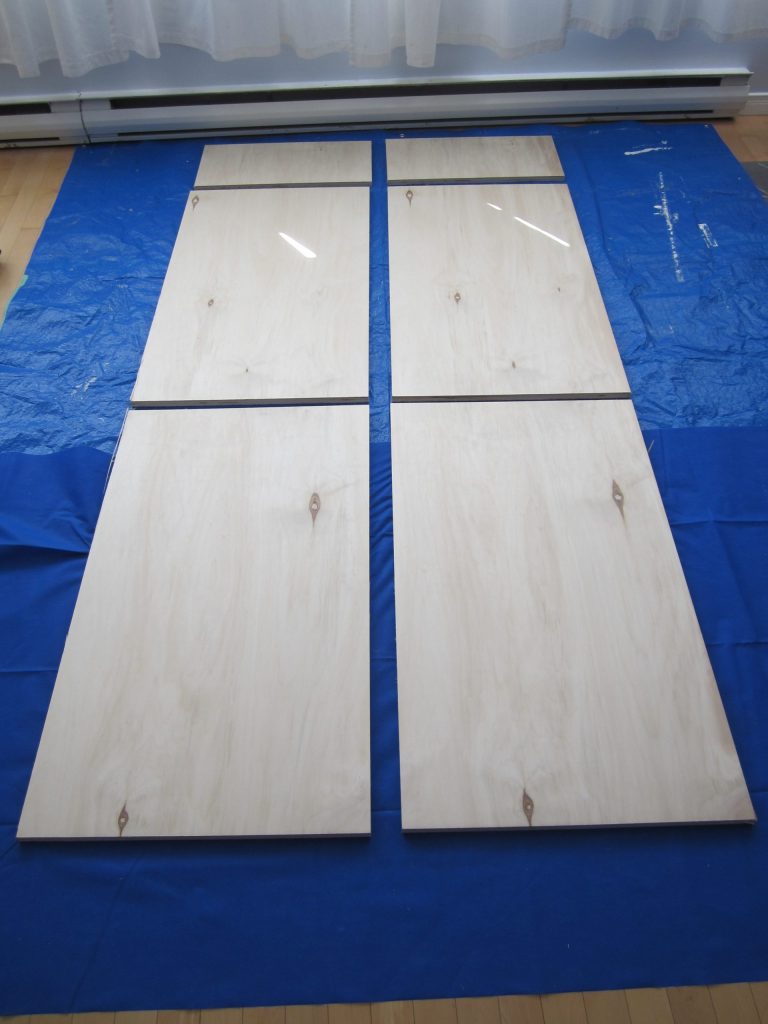
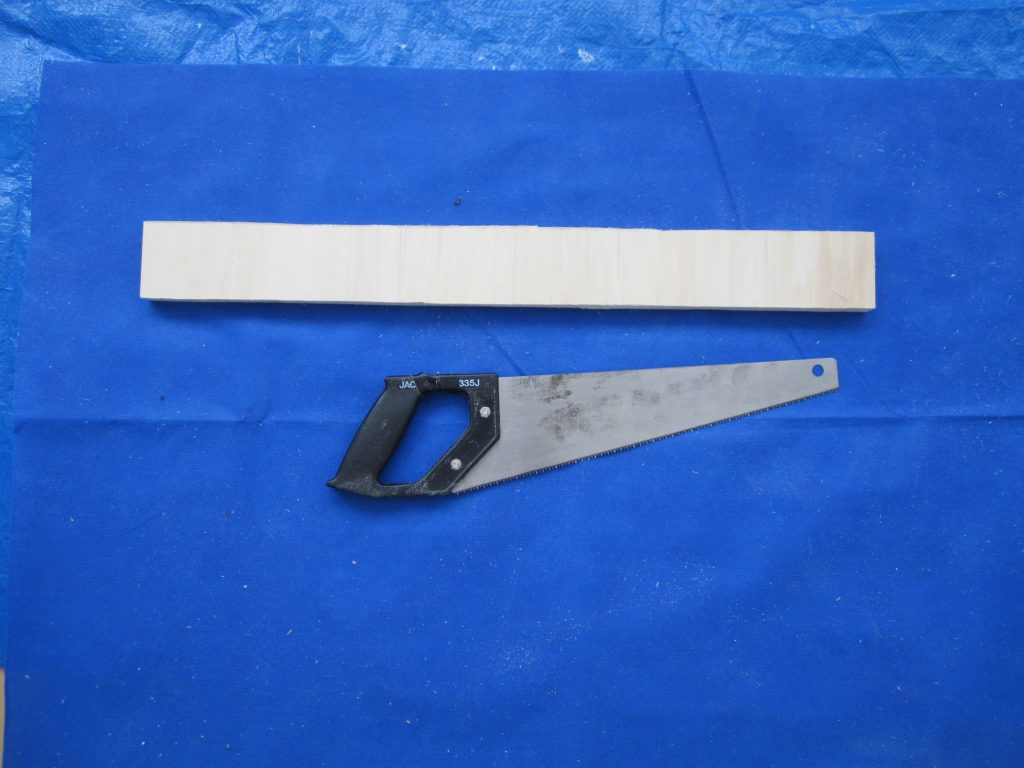
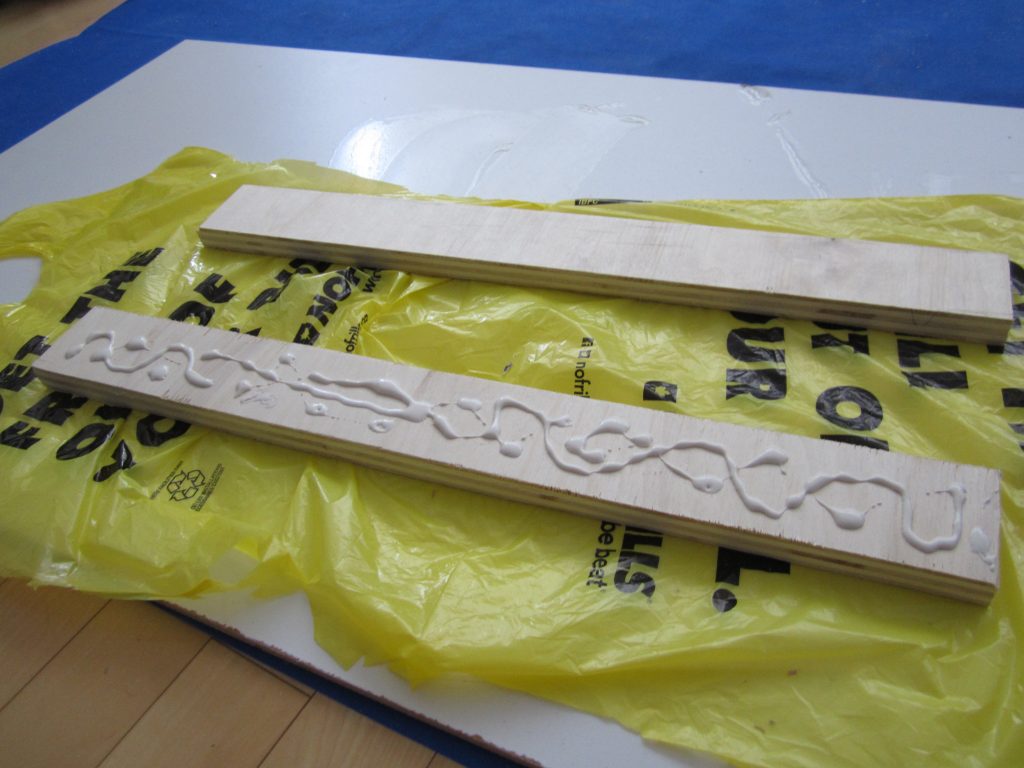
Pretty much the entire thing was made at home with simple primitive tools (like hand saws). This includes cutting, assembly, staining, and veneering. I must admit that the drawers were pretty sloppily made since no one can see the sides or back of a drawer when fully assembled.
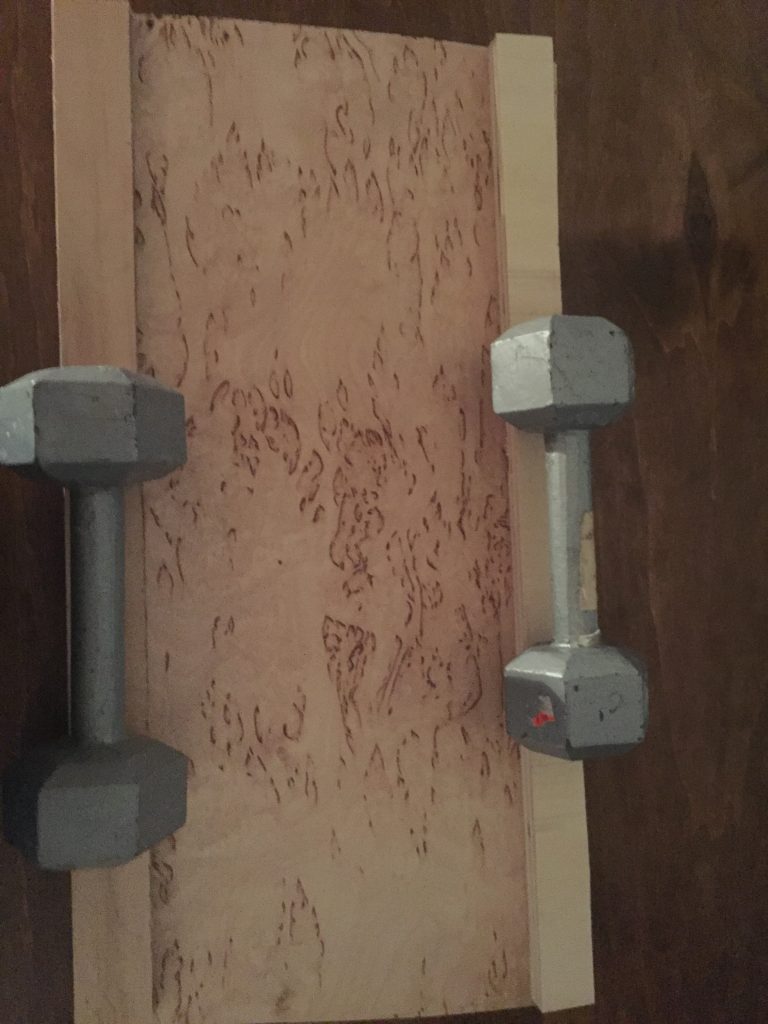
Karelian birch veneer was added to the drawer fronts. I found it on eBay for a very good price. I am very happy with how it turned out.
Bathroom Cabinets
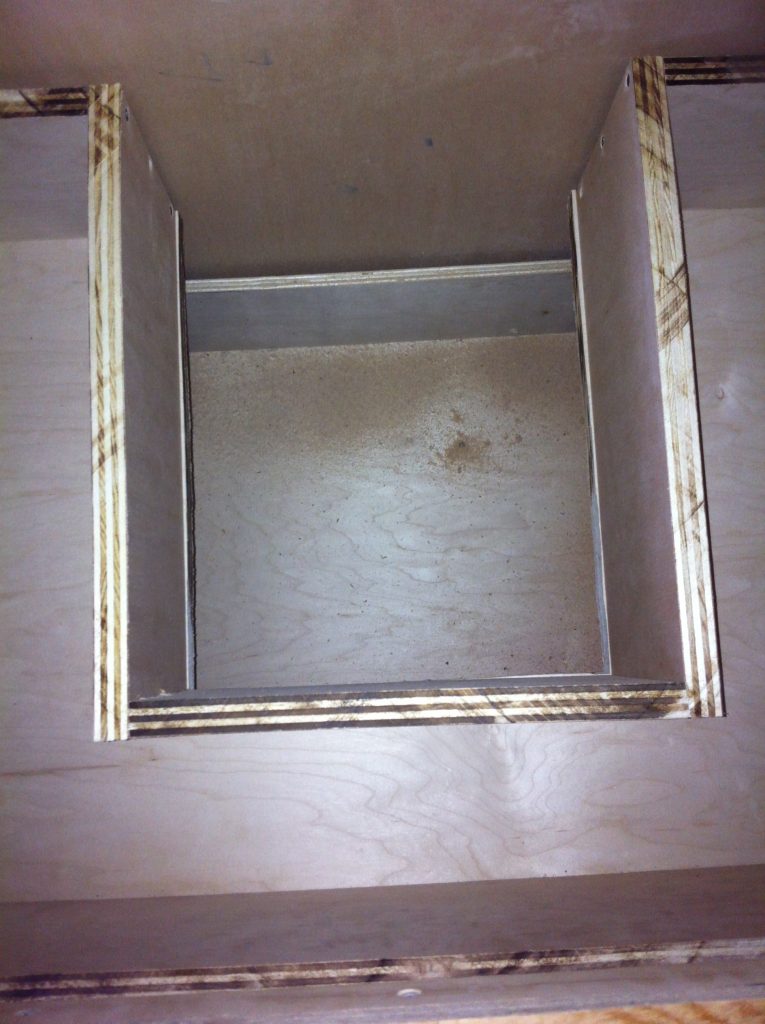
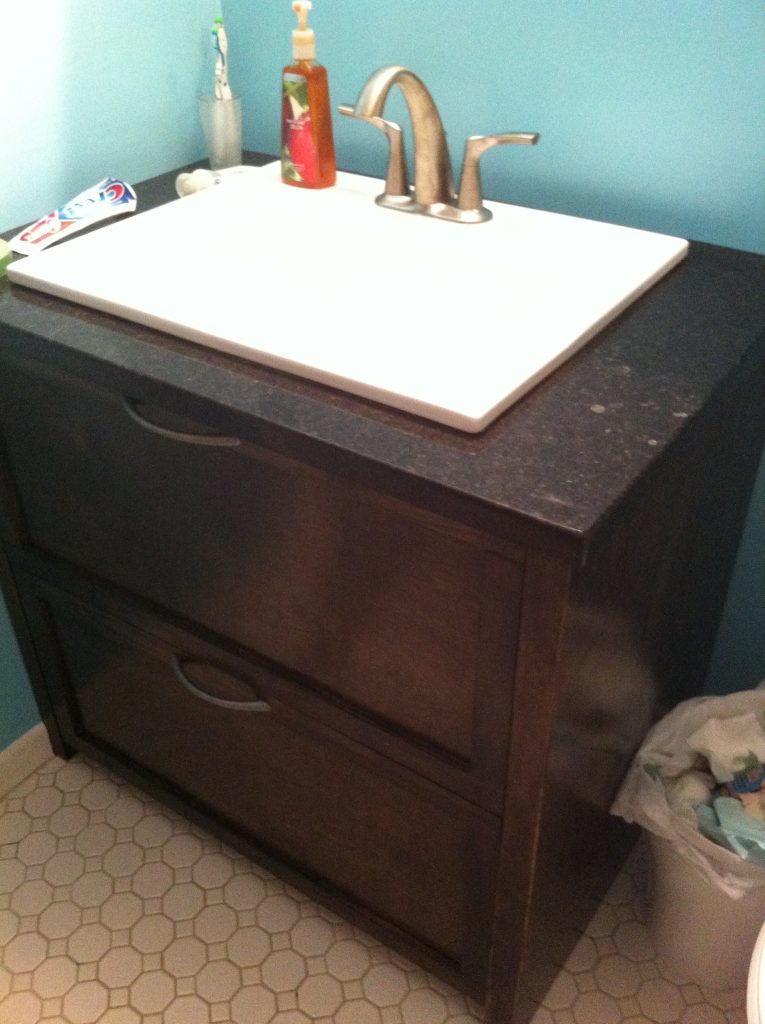
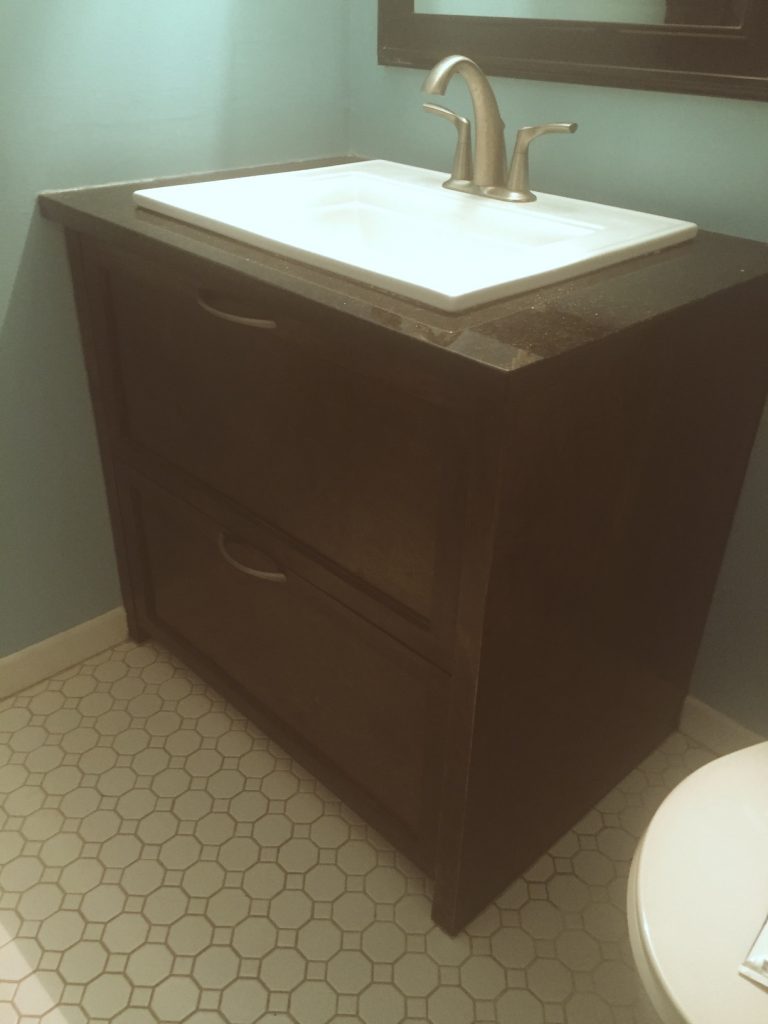
For my bathroom, I wasn’t happy with the clutter in in the previous cabinet. Basically it was just one big open free for all where stuff was on top of other stuff. Also, I wasn’t happy with the fact that it was made of cheap particle board where any bit of water could possibly warp it.
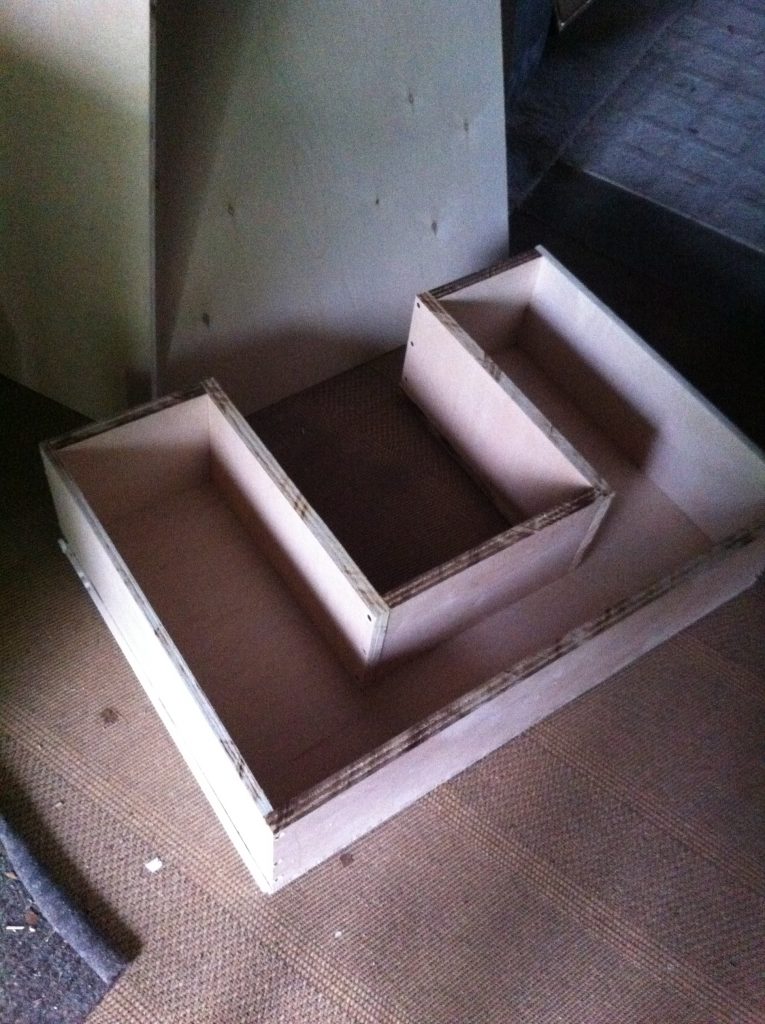
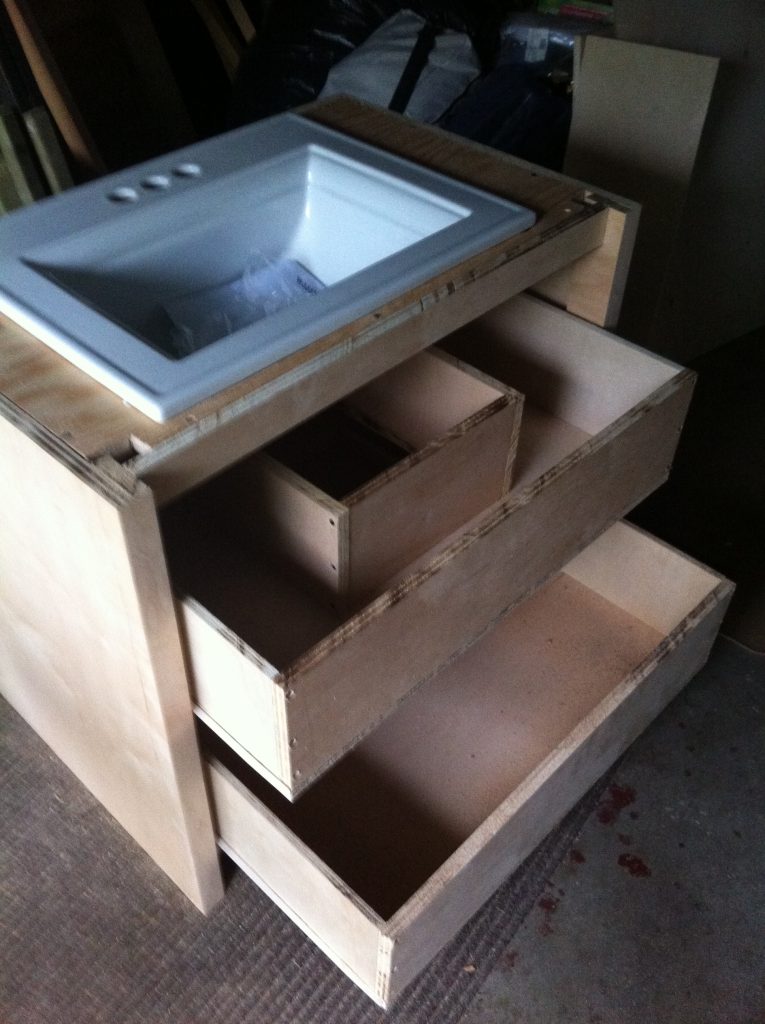
Originally, I found the idea of cutting out a section for the pipes on a display unit at Rona. It was a bit of work but I did manage to make the drawer with more than enough clearance for the pipes.
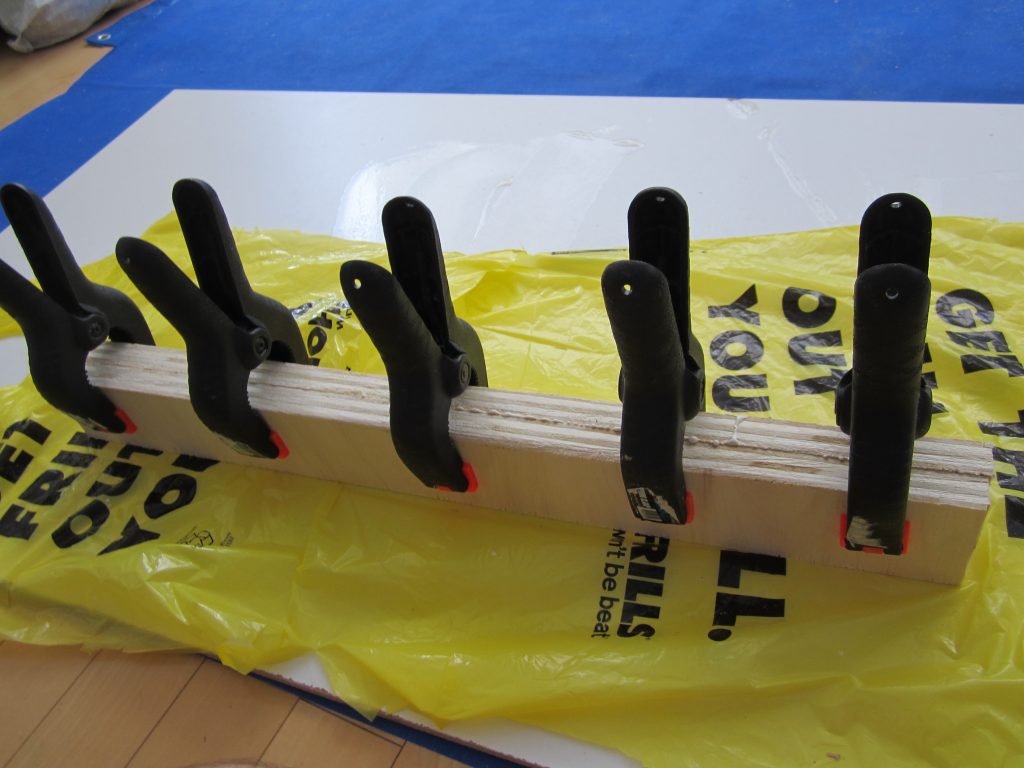
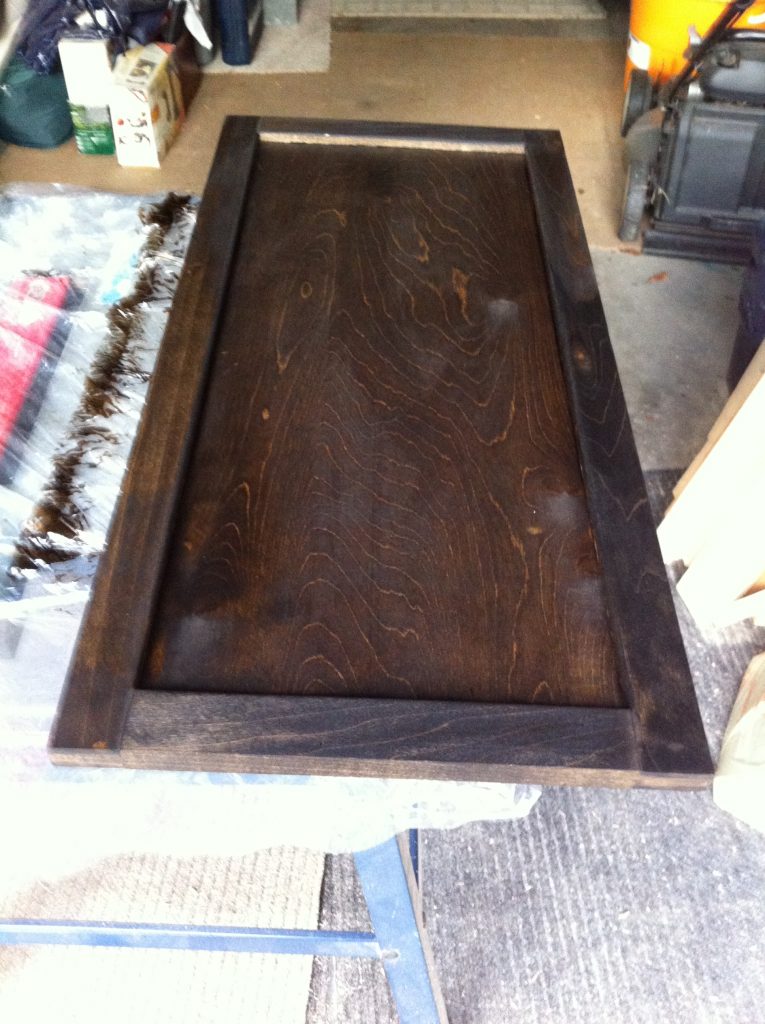
The door fronts were simple doors. Popular was used for the frame along with a 1/4″ panel. I made a mistake of gorilla glueing them together which resulted in a lot of extra sanding (since the glue tends to bubble up).
I made the cabinet a bit extra strong since I got a very cheap piece of granite for the top. The reason for the cheap price was that I had to do a lot of stuff myself (make my own template, transport it myself, and finally install it as well). Also it was one of those special deals that was done in cash.
Record Storage
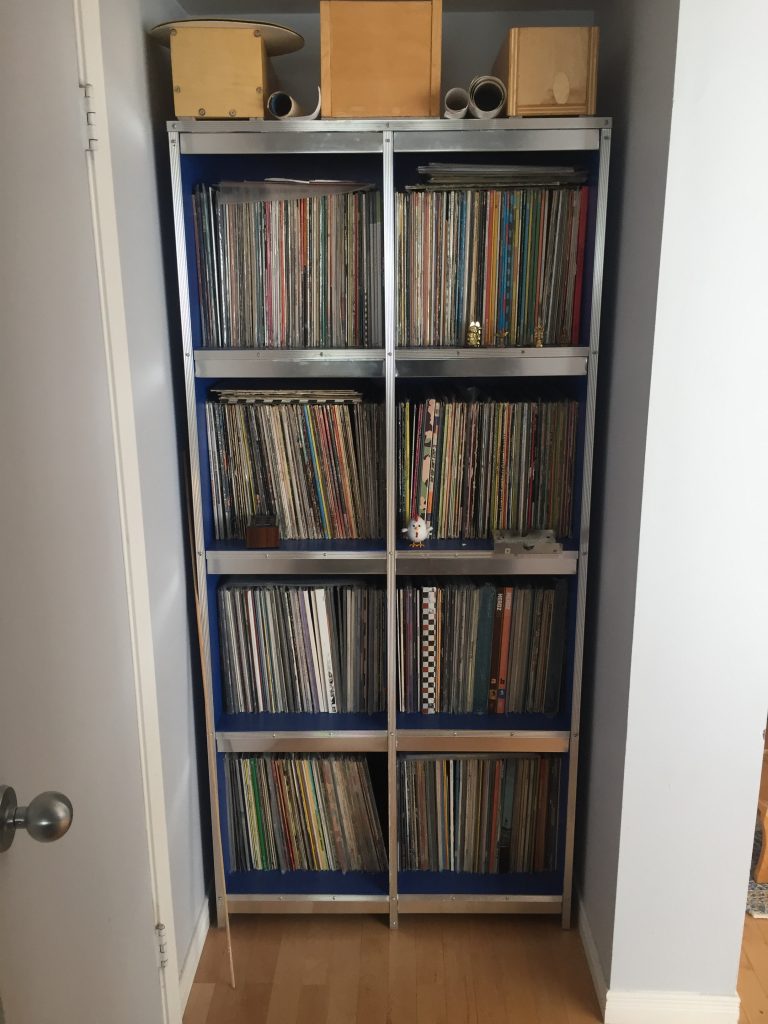
I have a few records and wanted to have solid shelf to store them all. The main problem is that records can weigh a lot so a solid shelf was very much required. The shelf is simple pine, that was painted blue, and had some metal trim pieces added on for decoration. Now the current problem is I have since acquired more records and kind of out grown this shelf.
For my 45s, I made a simple box to house them. There is a lot of empty space so once covid is over I am planning on buying some more 45s
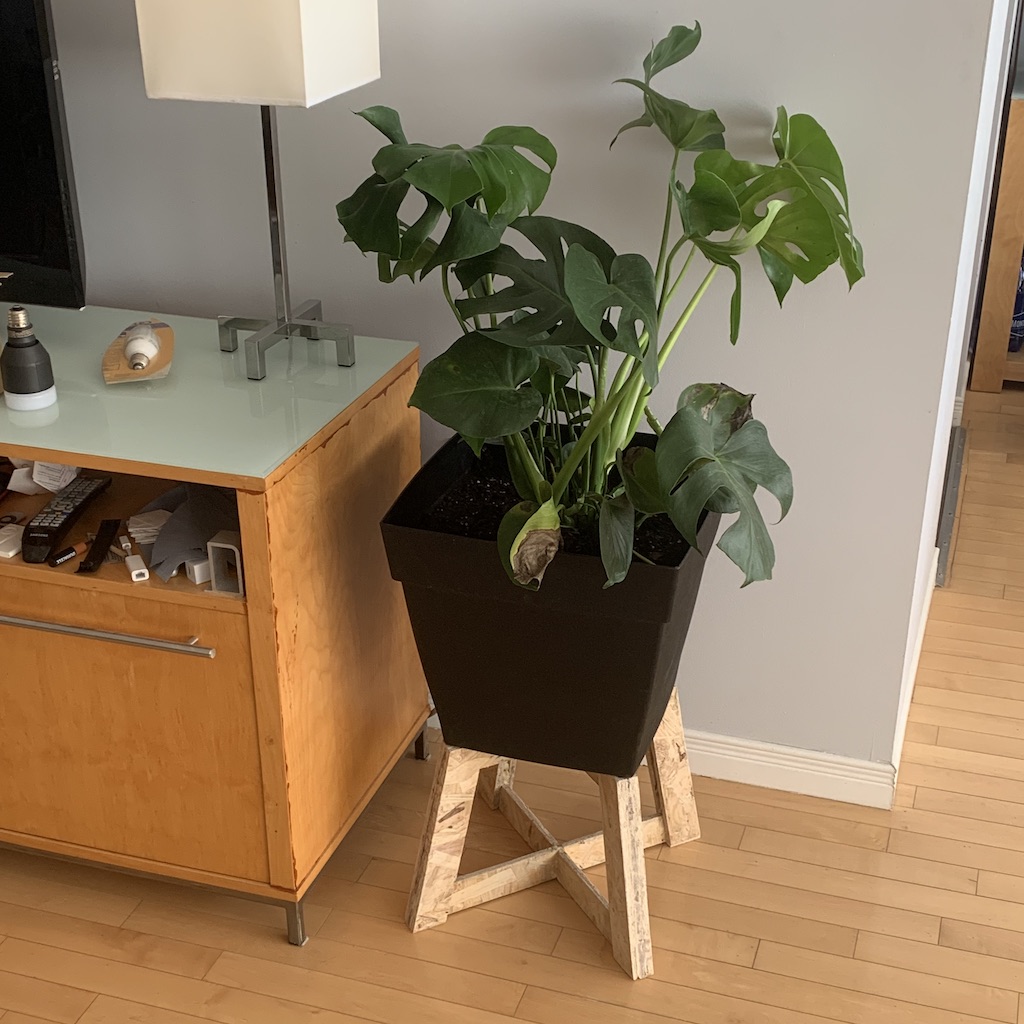
Plant Stand
I am not completely satisfied with this stand for this planter. I wanted it off the floor and for some reason I thought if it had some shared symmetry with the actual planter it would be something.
Another thing is I tried to l use the design to try to teach some poor children a trigonometry lesson. It wasn’t that successful.
Stereo
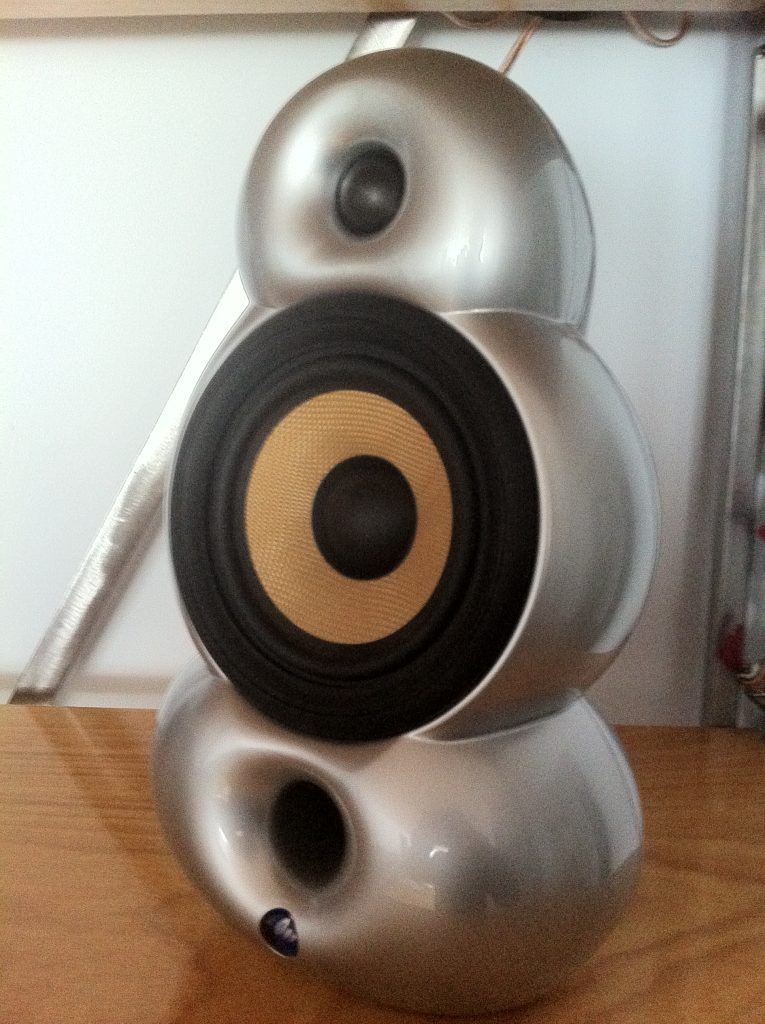
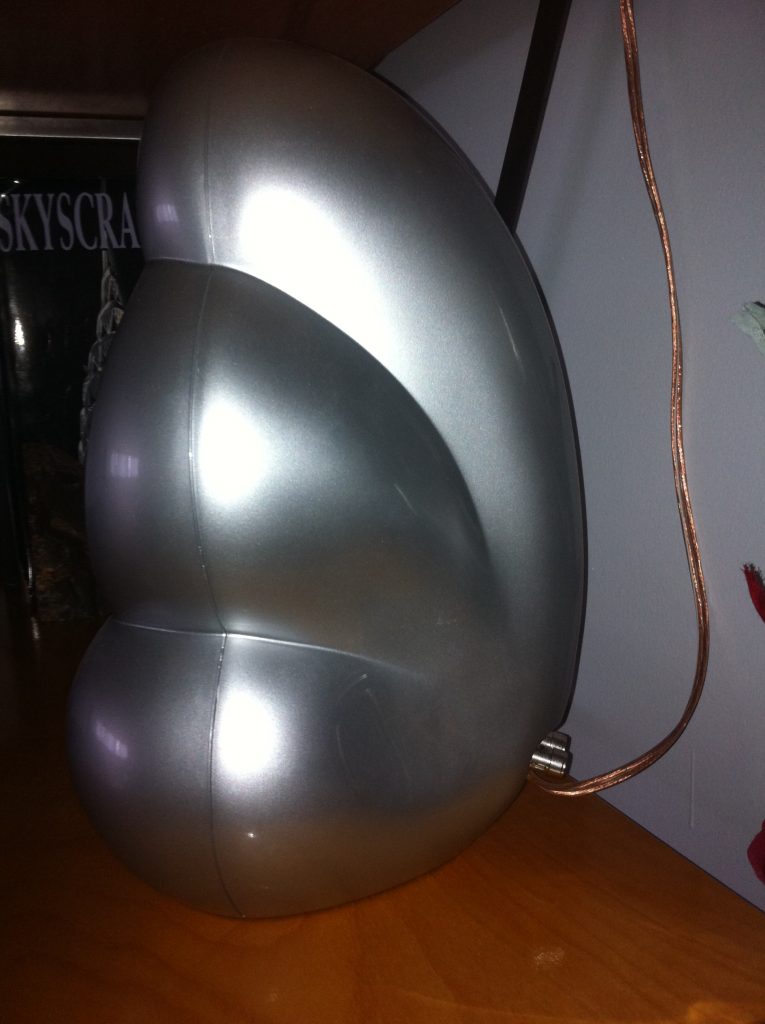
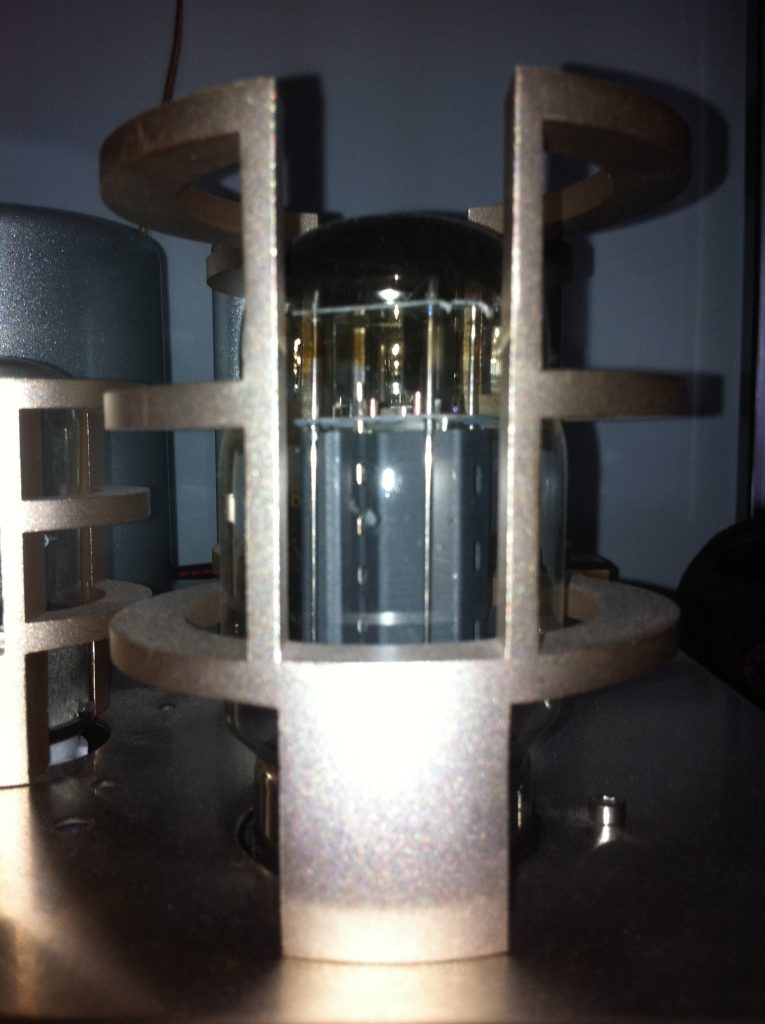
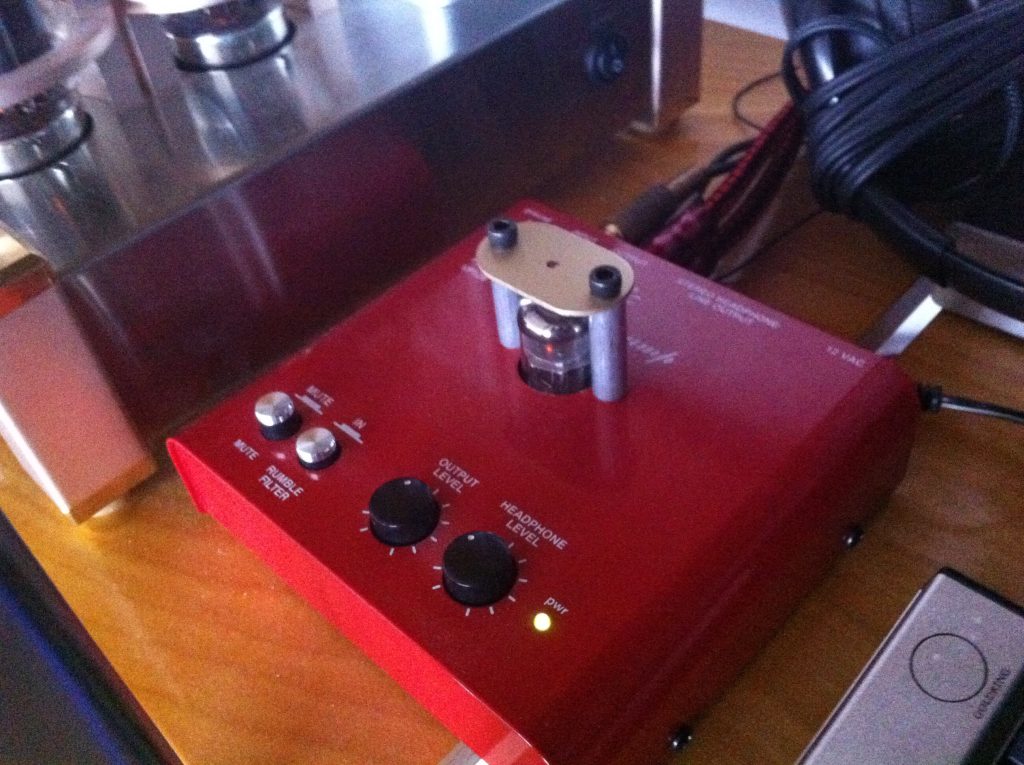
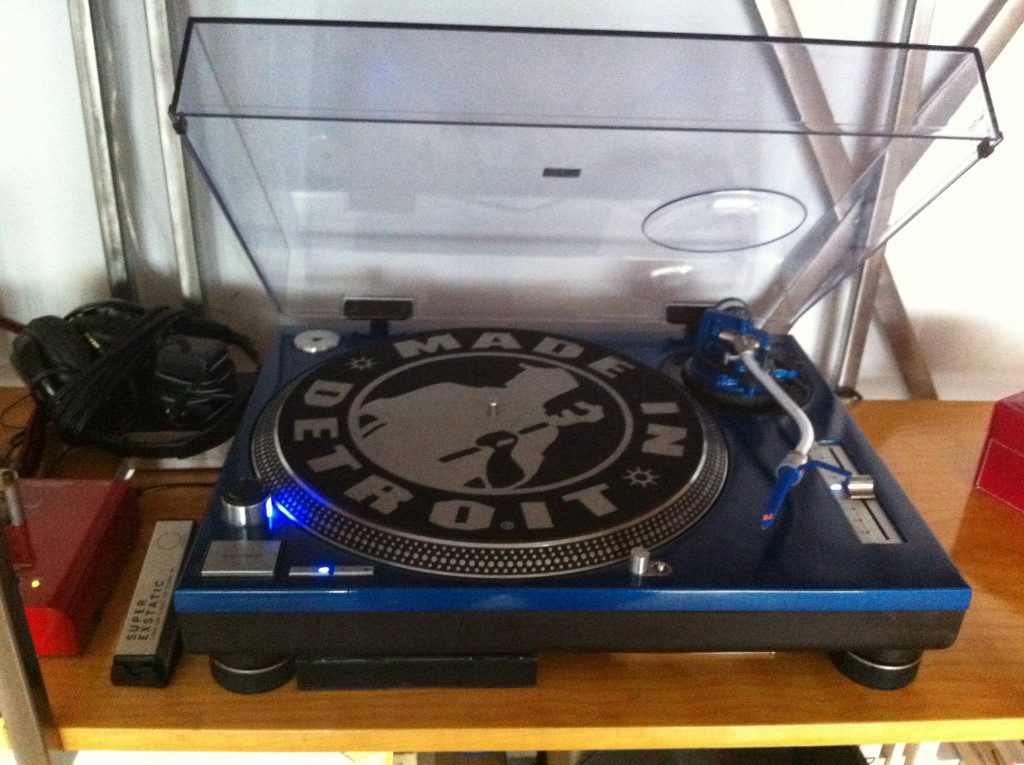
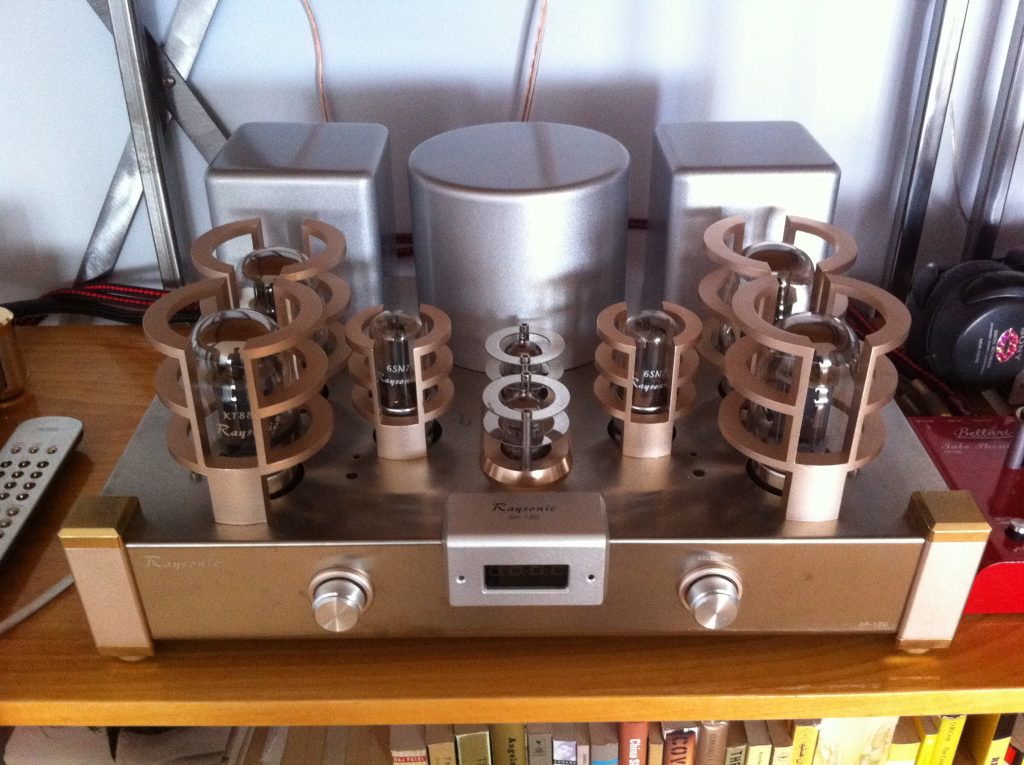
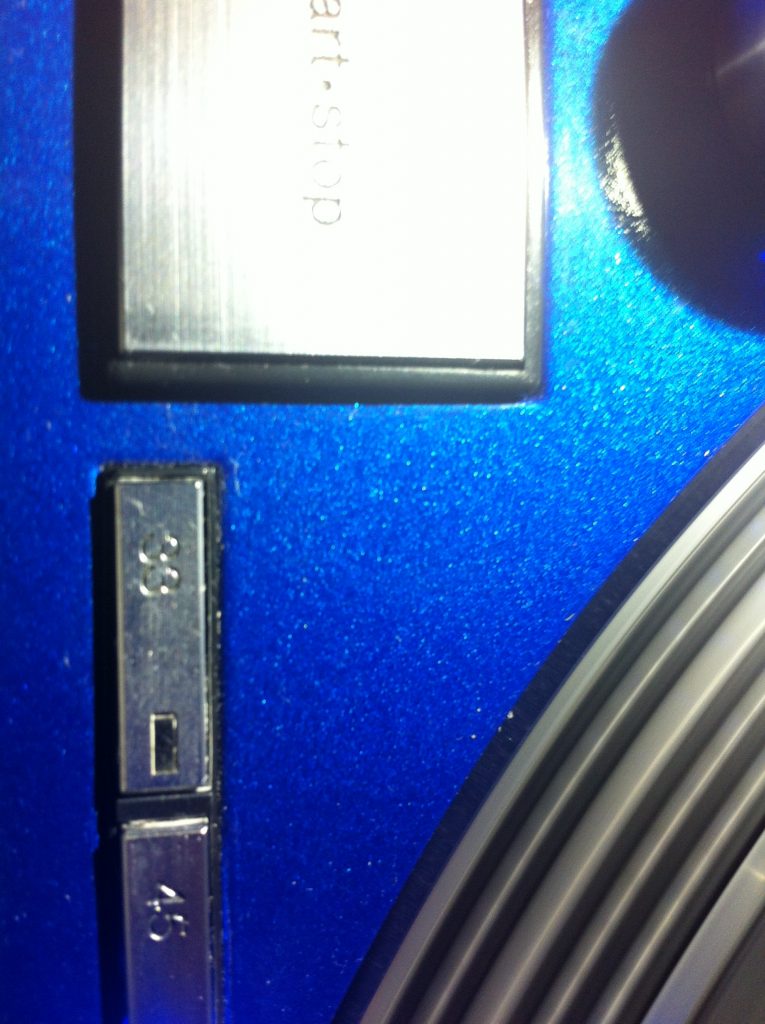
I don’t have a really fancy stereo system or anything like that. However over the years I slowly acquired some unique pieces. Currently in my setup I have: Scandyna Minipod Speakers, a Raysonic SP 120 integrated amplifier, a Rolls Belari VP 130 phono pre-amp, and a Technics 1200 MK2 turntable custom painted a sparkly blue.
